Video Transcription
hey guys welcome back to Montavue today
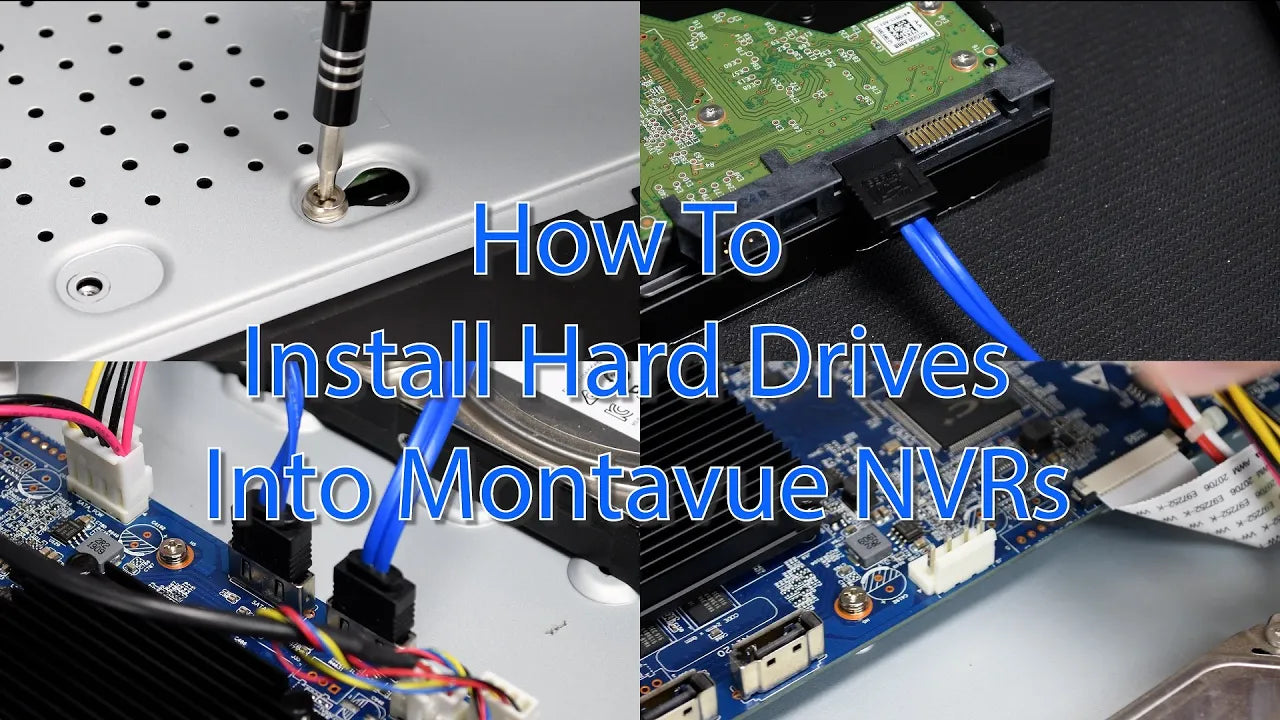
i'm going to be showing you how to
install a SATA hard drive into your
montevideo nvr now typically we do
pre-load our nvrs with hard drives
before we send them out so this is
mostly going to apply to those of you
that wish to add an additional hard
drive or are replacing the existing hard
drive within your system all alright so
to begin this process we are going to
need a few items
the first is going to be of course the
esata surveillance grade hard drive next
we're going to need a phillips
screwdriver we're also going to need the
blue e sata cable
extra spares would have come with your
guys's nvr when you first purchased it
we'll also need the power cable for the
hard drives this should actually be
located inside the nvr already so don't
worry about this one
and then of course we're going to need
the nvr
in addition to those items we're also
going to need two sets of screws
the first set is already mounted into
your nvr holding the top together
the second set again would have come
with your nvr when you first purchased
it but it's going to be these small
screws to mount the hard drive into the
system
all right the first step in this process
is to remove the four screws located on
the back of the nvr
they are located here
here
here
and here you'll notice the black trim
that goes around each one once these
screws are removed the top of the nvr
will slide back and off just like so
then we're going to get a good look at
the inside of the system
and here we can see where the
information sata cable plugs in that's
the blue one
and then we can also see where the power
cable for the hard drive plugs into now
we are looking at two hard drive bays
here i am on a 16 channel in vr so my
first one is already occupied by a hard
drive existing so i'm going to be
putting this one into the second slot
located here all right if we look at the
back of the hard drive we'll see two big
plug-ins
one of them is a little bit longer than
the other that's going to be our power
and the smaller shorter one is going to
be for the blue esata cable
starting with the blue esata cable first
we're going to start by plugging it into
the corresponding plugin on the
motherboard located here
then we're going to take the other end
and plug it into the smaller connectors
on the hard drive
you want to make sure you listen for
that click to make sure that it's on
correctly
next we want to take the power cable
this is the multi-colored one
and then again we want to find the
appropriate connection on the hard drive
and push it in and wait for that click
once you've got both these plugins
attached that's all you have to do
then we're going to place the hard drive
where it mounts
so looking again at the back of the hard
drive we're also going to notice these
four mounting points here
that is where you want to line up with
the nvr's mounting points so that your
screws will go through both so here's
the tricky part once everything's
plugged in and we've got our hard drive
where we need it to be
i'm going to use one hand and hold the
hard drive in place while using the
other hand to flip the nvr over keeping
that hard drive pressed firmly against
the bottom of the nvr once you have it
flipped over you got to kind of wiggle
the hard drive around until you get
those four mounting locations matched up
with the four holes in the bottom of the
nvr as you can see here i've got them
all matched up so now i'm going to take
my four small screws and i'm going to
attach the nvr using the phillips head
screwdriver all right once you get those
four screws firmly set in there we're
going to flip the nvr back over
and at this point we can close up shop
and we are done installing the hard
drive
okay we are going to take the large
black piece and slide it back over the
nvr
once it is firmly in place we're going
to use those four screws to mount it
back into position
and then once we do that the nvr should
be all closed up and ready to be plugged
in and turned on so as a final note just
as a last check to make sure your hard
drive was installed properly we're going
to power the nvr on and we're going to
go to the main menu
next i want you to select storage
located here at the bottom
after choosing storage we're going to
choose hdd manager on the left side here
we can see
that our hard drive is mounted
and it is working properly and we want
to check the health status
and then of course the available space
compared to the
total space
this will give you all the information
you guys need about your hard drive and
to go one step further we can also
select hdd detect on the left side
and we can run a scan
running the scan will detect any
abnormalities within your hard drive and
as you can see here everything registers
green and i'm good to go keep in mind
that after installing your hard drive it
will automatically kick in and start
recording right away there's no
additional setup you have to do this is
simply just to check the health of the
hard drive and to make sure it is
properly working
everything else should be automatic from
this point and you guys are all set to
go
right guys thank you for checking out
our videos as always i'm really
appreciative you guys are giving these
views and really learning a lot from all
these how to's we've been creating stay
tuned for more coming up in the next few
weeks thank you for choosing Montavue
and as always you guys have a great day

