
Video Transcription
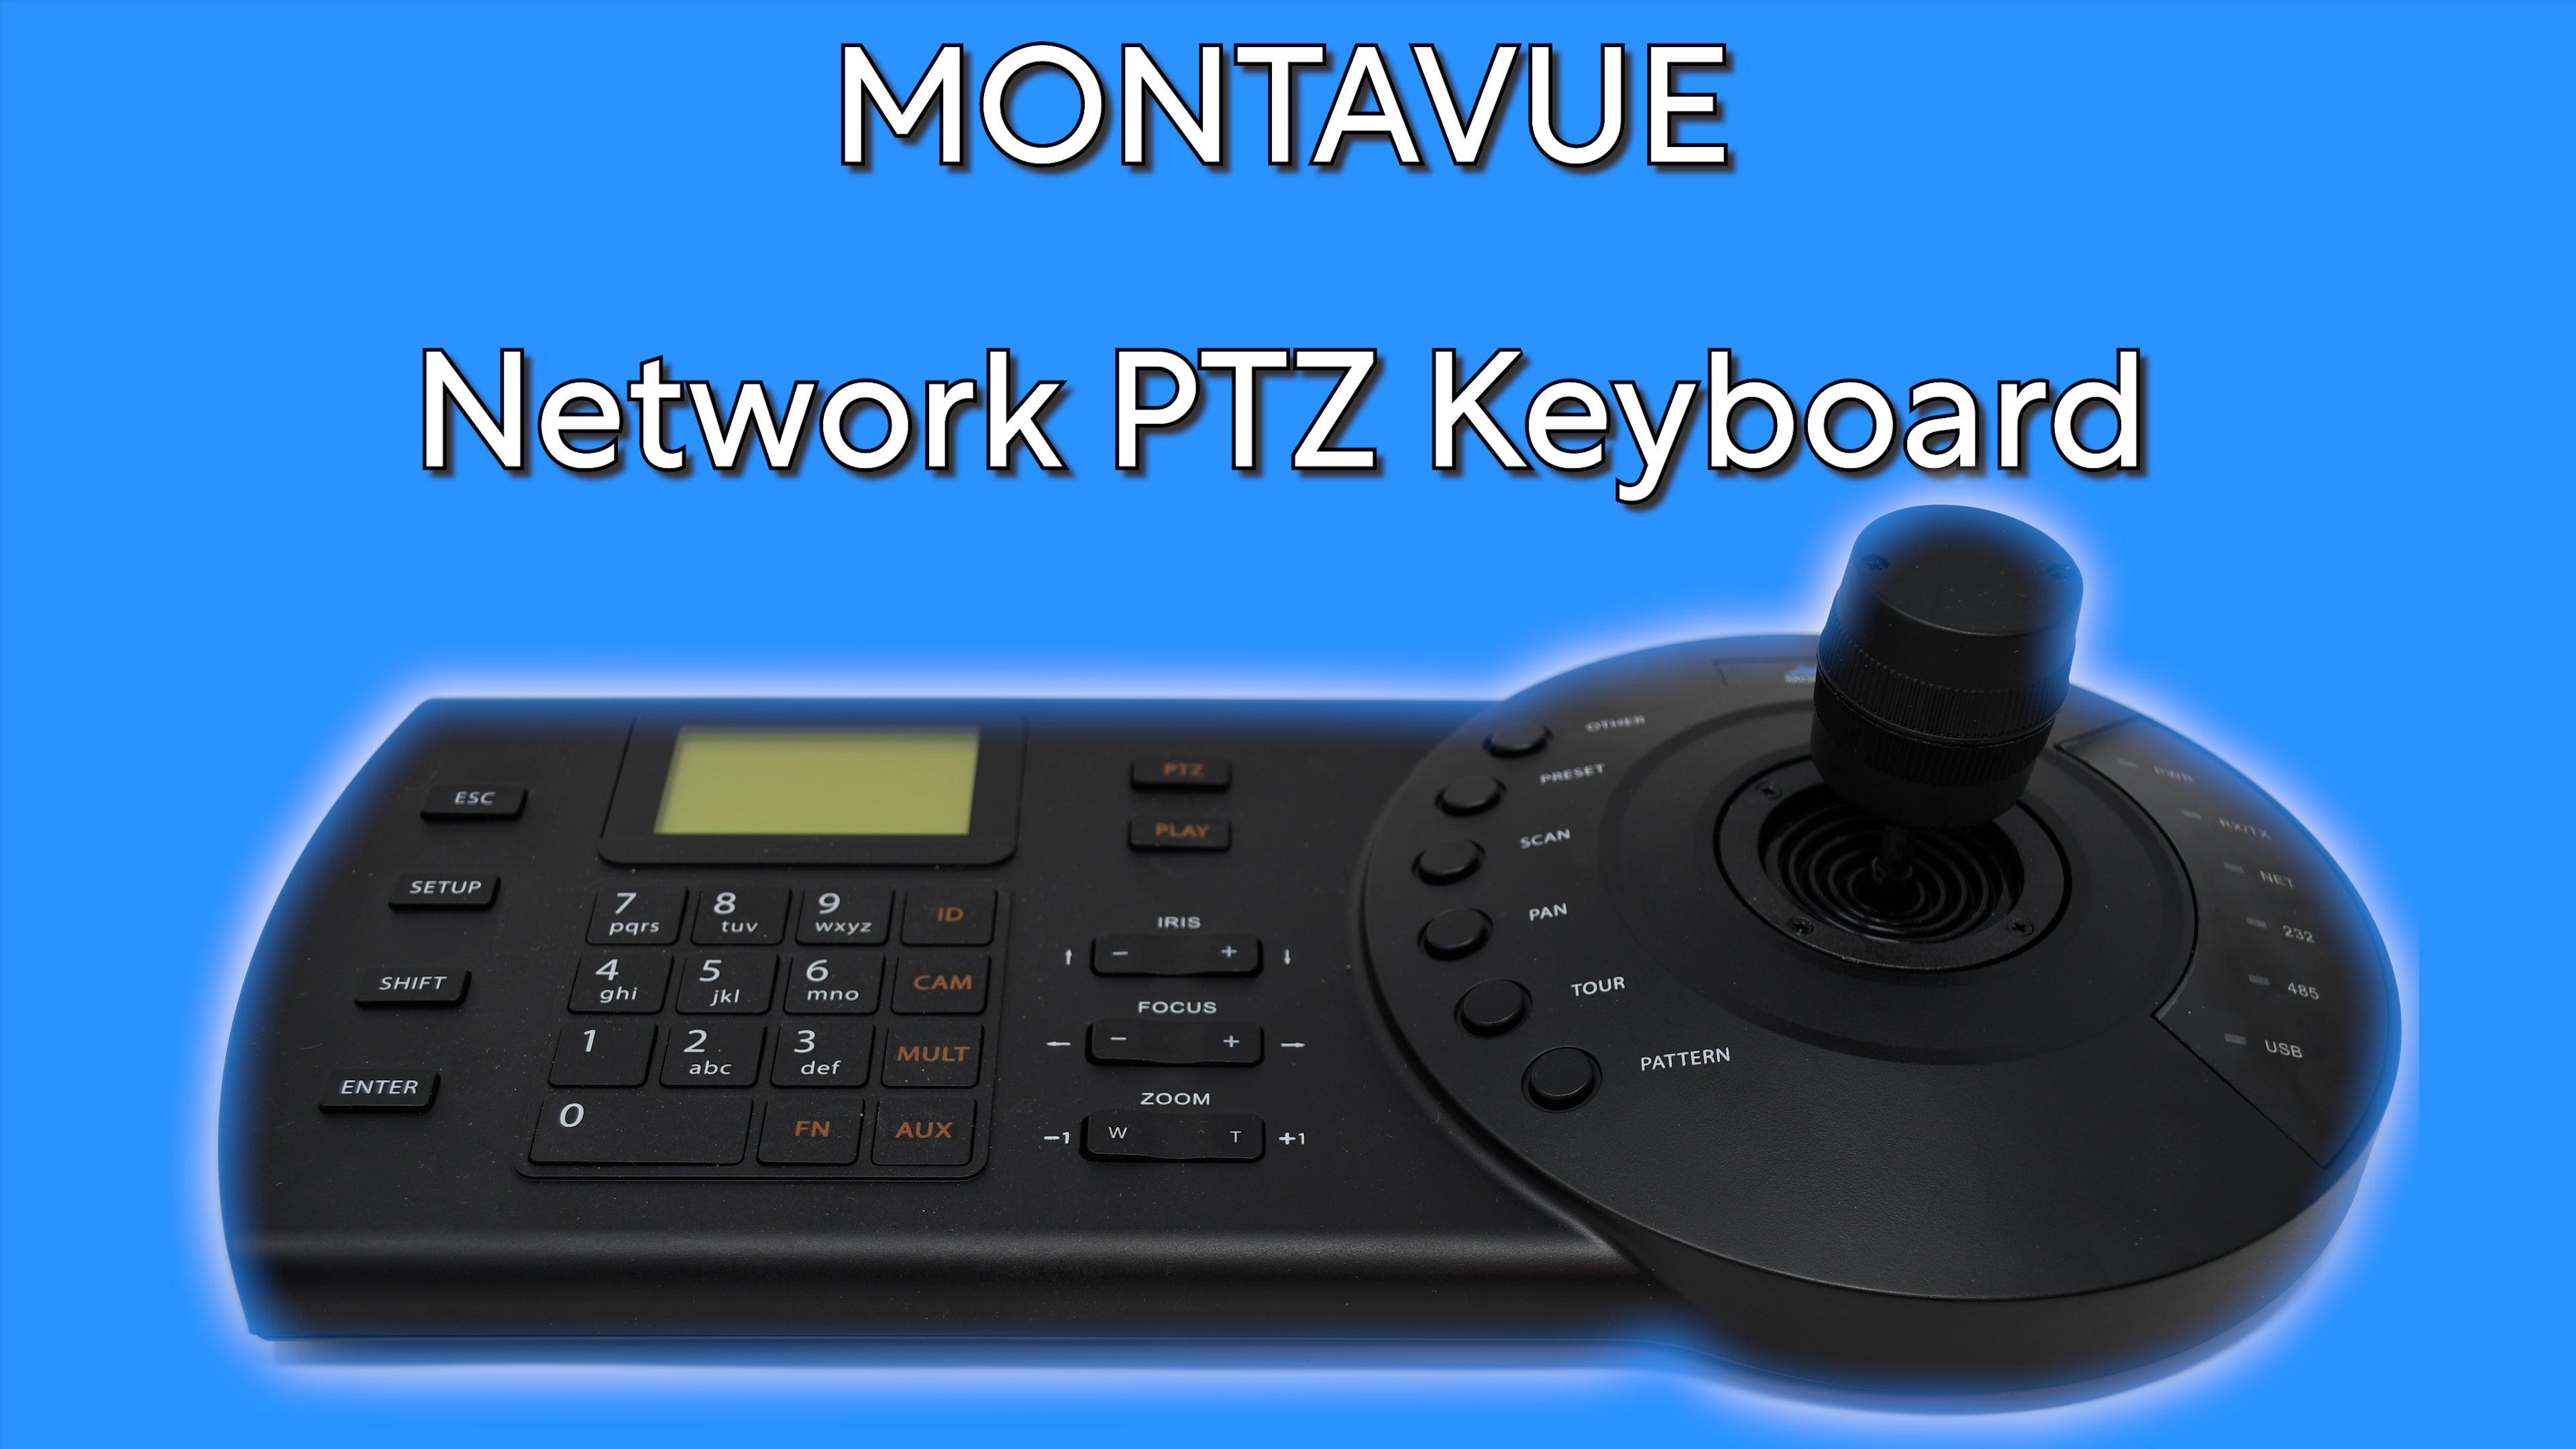
hey guys welcome back to montavue today
in this video we're going to continue
talking about our network ptz keyboard
now specifically what we're going to
cover in this video is how to install it
so we're going to show you guys how to
get it wired up properly and then we're
going to go over the basic
initialization which is going to get you
guys connected to your ptz cameras so
that you can start moving them around
and managing their functions
so getting started we basically need to
get this thing plugged in that's going
to require
plugging the keyboard into a power
source which is just a standard outlet
and then we're going to integrate it
into the network by plugging it into a
router or we're going to plug it into a
switch which then connects to a router
keep in mind we will not be plugging
this into an nvr directly
because unfortunately that's just not
how this system operates and so it has
to be integrated directly into the
network getting started what we need to
do first we need to actually plug in the
keyboard to a power source so i want you
guys to grab the 12 volt dc
adapter that comes with this and we're
going to plug it into the front just up
here
and then we're going to plug in that to
a standard wall outlet now that it's
powered up uh next thing we need to do
is plug it into your guys's network so
again we either need to plug this
directly into a router or if you guys
have a switch integrated into your
system we can plug it into a switch port
so in order to do that we're going to
need a single ethernet cable
and we're going to plug into the network
jack on the keyboard
and we're going to take the other end
and we're going to plug it into our
router for this example
now if you guys have a switch we
basically just have one extra step
and that would be plugging it into
one of the standard ports on the switch
and then we need to connect our switch
back to our router hopefully you guys
already have this done because it's
already integrated into your network but
if this is a fresh setup what you're
going to do is you're going to go from
the network or the lan port on your
switch it should be specially designated
and then you're going to plug that into
a standard port on your guys's router
one thing we'll need before we
initialize this properly is we're going
to need the ip address for whichever
device you guys want to connect to so if
your guys's ptz cameras are attached to
an nvr we will need the nvr's ip address
if you guys have standalone ptz cameras
we're going to need to acquire the ip
address for those devices in order to
look up your guys's ip address for your
nvr or your ptz cameras we're going to
have to do two things
one we'll need to download and open the
monteview go application for your mobile
device
next we're also going to have to connect
that same smartphone to your guys's
network this means your guys's router
hopefully it's a wireless router and so
if you guys go to your wireless settings
make sure you guys are fully connected
to your guys the same network that is
also hosting your nvr slash keyboard
so once you guys have done that you'll
notice that i'm on the mont view network
i want you guys to open up the monty
view go application
and we're going to click this little
plus button in the upper right corner
then we're going to choose online search
now this is going to scan your entire
network for any ip devices so it's going
to find keyboards nvrs
you name it it's going to find cameras
too if you guys have standalones so once
we've identified where our nvr is or our
standalone cameras we need to look at
the ip address and copy that down
so once you guys have the ip address
that is all the information that we'll
need from that particular device and
we're ready to start initializing the
keyboard okay for the rest of the setup
we're going to be looking at the little
keyboard screen and using the buttons
that are found just below
so first we're going to press the setup
button on the left side
we're going to use the joystick to arrow
down
and the username is going to be admin
we're going to leave it like that
the password is going to be
8888 that is 6 8 in total press enter
go down to menu settings and press enter
then go to zone and press enter
now it's going to ask us to create an id
for your nvr or your guys's camera
so go ahead and press any number you
guys want it's just got to be one that
you can remember to go back to i've
already made an id for number one so in
this case i'm gonna select id number two
you guys can press the minus button on
the focus section over here and this
will act as a delete button for what
you've entered on screen just in case
you guys make any mistakes during this
okay we're going to go down to name
and in order to name this you can
literally call it whatever you want if
you guys need to change between
lowercase uppercase numbers or symbols
you can press the shift button and
you'll see it change up here on screen
on the little right side so for entering
our letters this is going to be kind of
like the old school cell phones when we
used to use t9 word so you're just going
to press the corresponding number for
the letter
and then you have to press it a certain
amount of times depending on where that
letter is
so watch this example i'm going to spell
a test and i know it's been a long time
since any of us had to do this but yeah
it all comes flooding back pretty
quickly
okay once we have that we're going to go
down to type
and if you guys have an nvr we're going
to choose nvr
and if you have a standalone camera
we're going to choose sd
ignore all the other options
for link we need to choose net
now we're going to enter the ip address
we looked up before
so in my instance i'm going to put in
192.168.0.214.
now again if you guys have an nvr you
want to put the nvr's ip address
next we're going to choose the port
number of 3777
for the step option we're going to
choose 8
and for rule we're going to have it say
dh-2
now we're going to choose the user now
this is for your guys's nvr or camera so
it's likely that it's going to be admin
in all lower case letters
and now your password this one should be
the exact same
as your guys's nvr or camera
and if you guys have symbols i'm going
to put up a little translation here
basically all of the numbers also equal
certain symbols again you're going to
press the shift button in order to
activate this symbol typing
keep in mind cam is the minus button
multi is the underscore
and auxiliary is the period
okay once you guys have your password in
there we're going to press enter
and it should say successful on screen
if everything went through okay
all right the last step to choosing your
ptz camera when we're ready to start
moving it around and managing it for
those of you with an nvr there is an
extra step so i'd like you to press
escape to go to the main menu
we're going to select zone control
we're gonna put in that id number so for
this one i'm gonna enter two
the cam number so because it's an nvr
now we need to choose which camera or
channel that we're trying to find
so we're gonna press cam
then the number so mine happens to be
also on channel two so i'm going to
press two
and then i'd like you to press ptz up
here by the screen
if done successfully we should see this
little arrowed pad on the screen and if
you guys move your joystick or press any
buttons now we should see your ptz
respond to those commands
all right guys hopefully you're now
looking at a fully functioning network
ptz keyboard if you guys ran into any
obstacles or just couldn't quite follow
along with this video please feel free
to reach out to tech support we are here
monday through friday to assist you guys
with anything you need
as always i appreciate you guys checking
out the videos keep in mind we will be
coming out with a third keyboard video
that's going to go over every single
button and function that this provides
so it's going to be kind of a lengthy
one and a little bit advanced but if you
guys want to truly master this keyboard
stay tuned for that one
please like and subscribe to the channel
it really helps me out immensely and i
appreciate it a lot of course it also
lets you guys know when i'm dropping
that new content so it's definitely
beneficial for y'all as well
thanks for choosing mon of you guys and
you have a fantastic day