Video Transcription
hey guys welcome back to montavue today
in this video we're going to be going
over e sata boxes we're going to be
discussing what they do
how they work and of course we're going
to show you how to integrate one into
your mont view nvr system
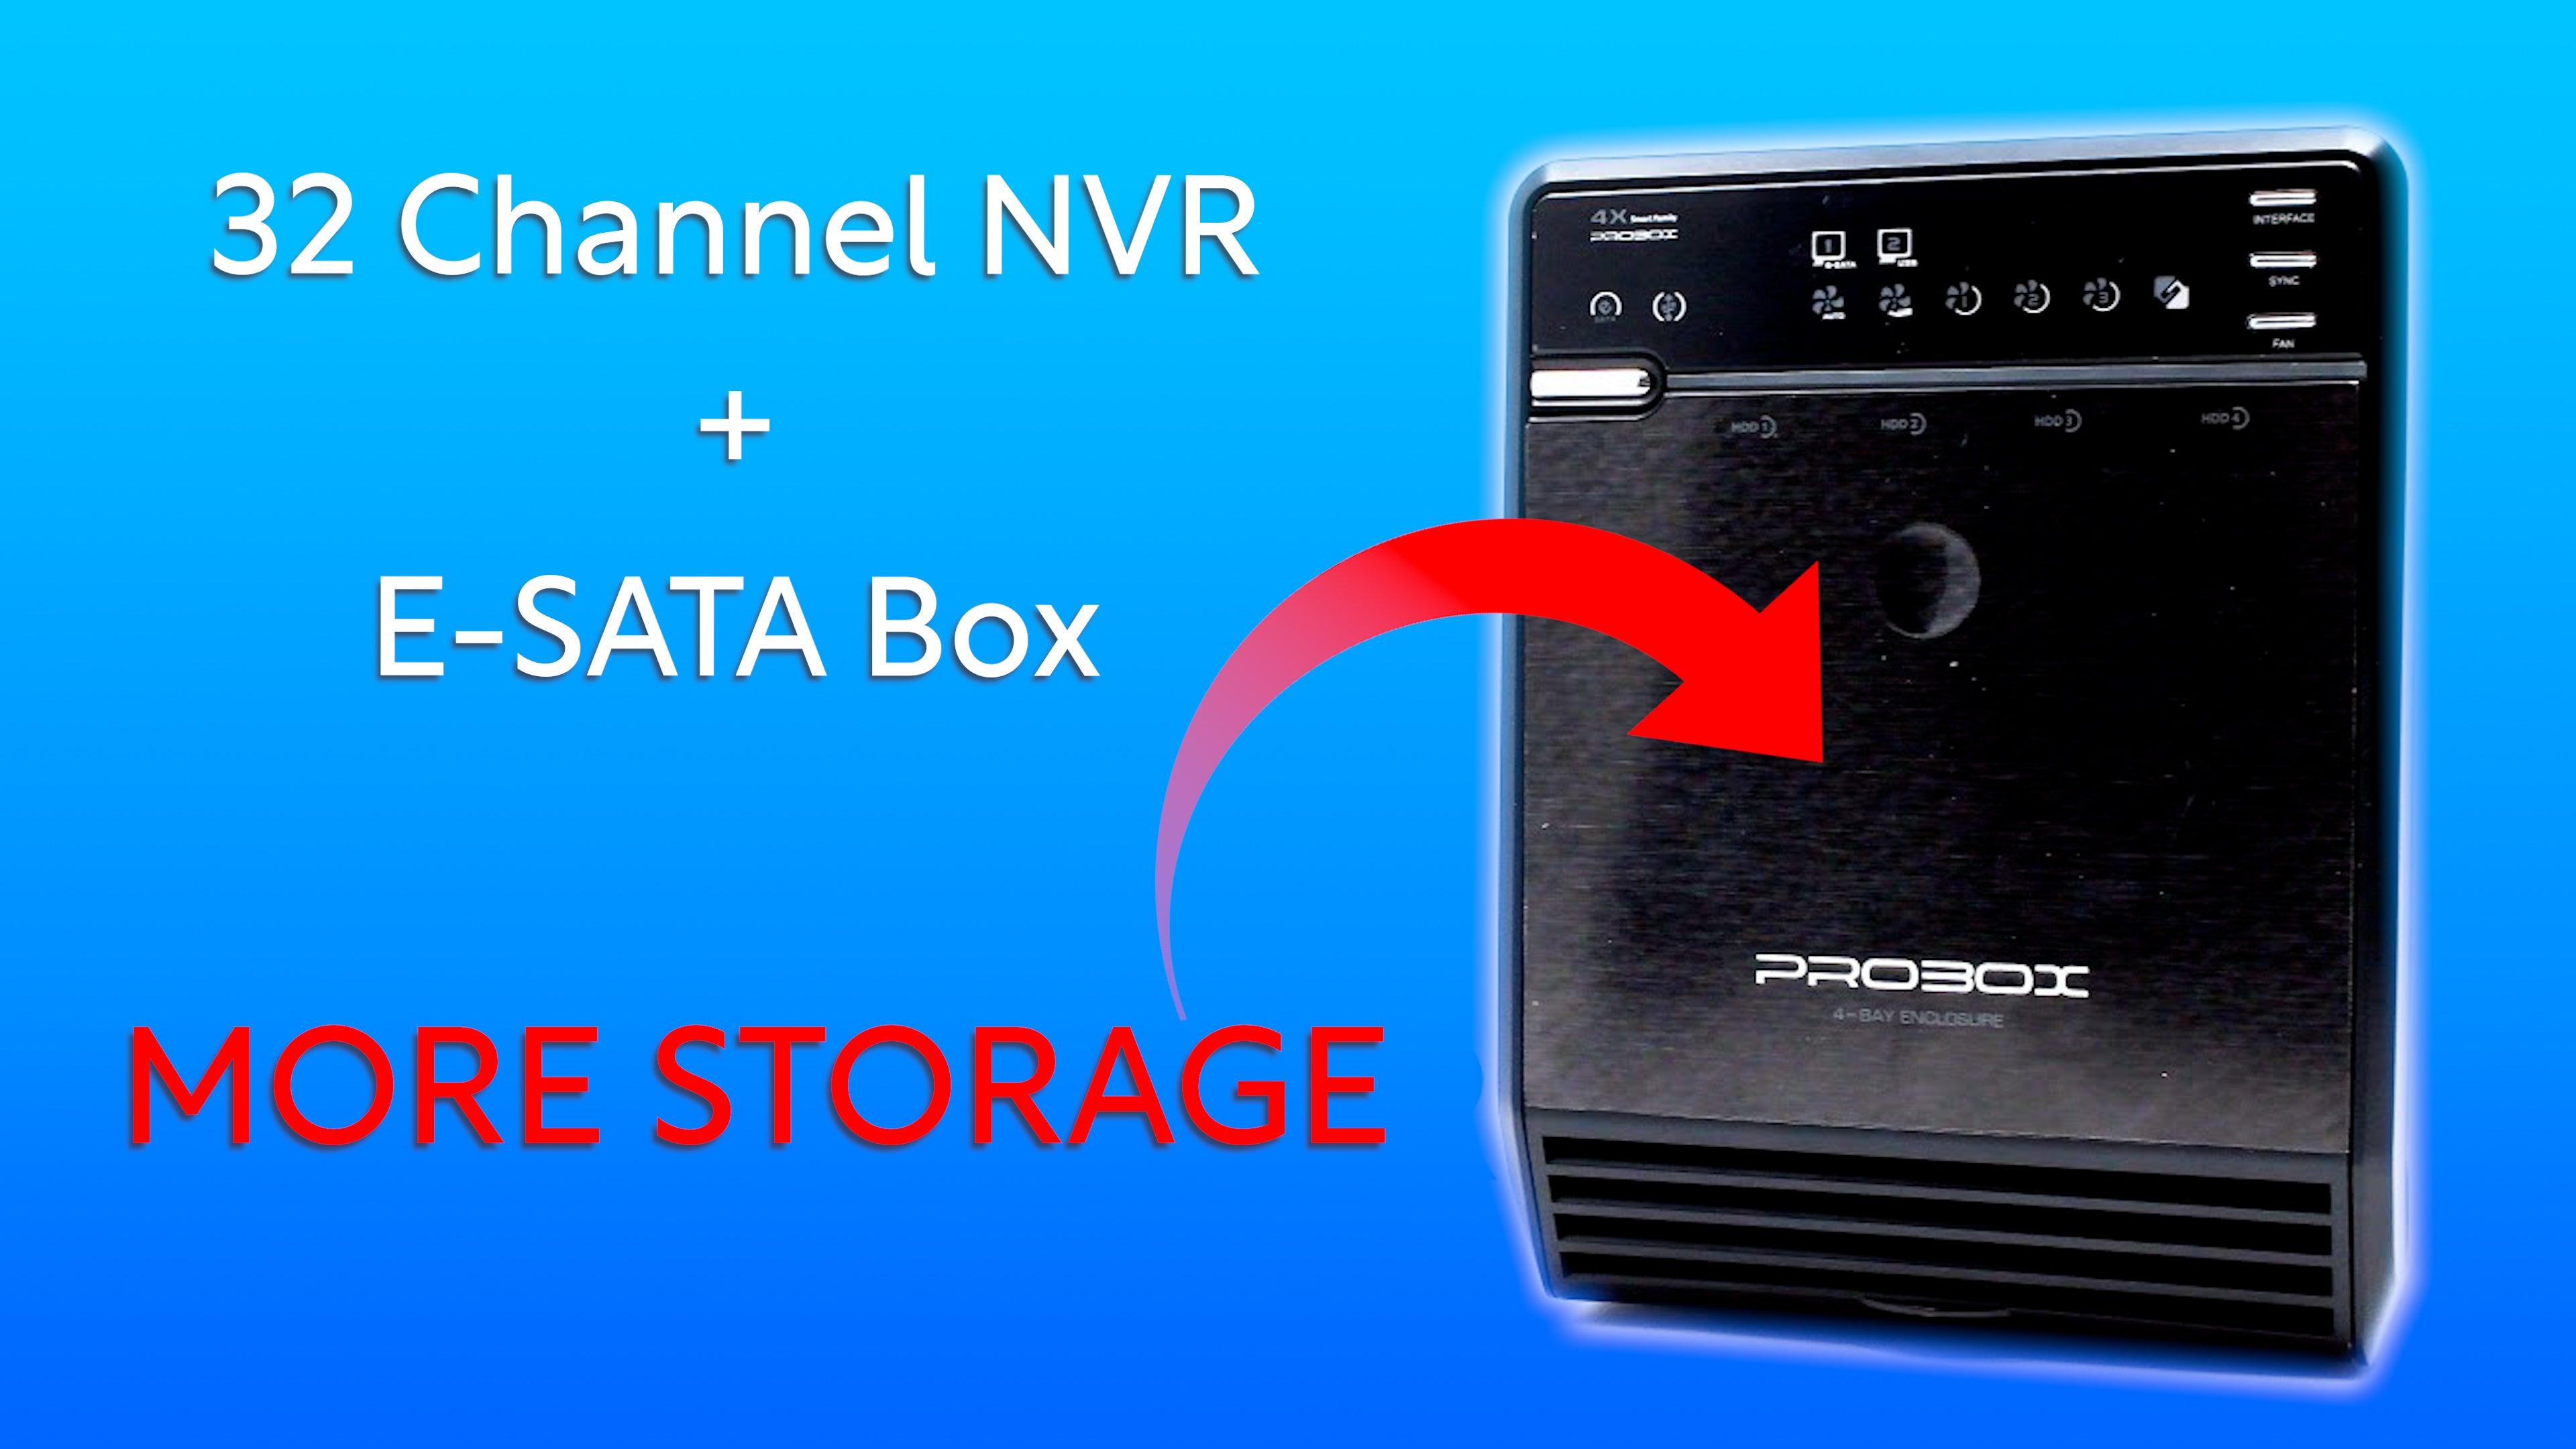
now an esata box essentially is a device
that allows you to add additional
satisfy-grade hard drives
to your system and this is in addition
to the ones that are internally already
installed into your monta view nvr
now an esata box is only capable of
plugging into our 32 channel model pro
series mvr
so if you guys have anything but a 32
channel in vr this will not be
applicable and you guys are going to be
relegated to just the internally located
hard drives on your system
so the model i'm using today is the
mediasonic pro box this is the four bay
version with each bay able to contain up
to 10 terabytes apiece
mediasonic also makes an 8-bay version
of an e-sata box so that is available as
well now other brands and models are
probably going to work just as well
just keep in mind that the mediasonic
pro box is the only one that we can
verify just because we personally had
our hands on it and tested it so it
works you guys are welcome to try other
mix and models it's a fairly simple
technology so it's likely going to work
with any kind of esata box that you guys
find so how this connects to the system
is you're basically going to use an
esata cable and it's going to run from
the back of this device to the back of
your nvr into the esata port so the only
one that shows up is red on the back of
the mbr easy to see the esata box itself
is also going to plug into a wall outlet
and then of course you're going to
install your hard drives into this
device
most of the connections are
automatically obtained so as far as the
software side of things this is an easy
setup the list of components that we'll
need are as follows we need the e-sata
box
the door panel
the hard drive bay cover
the power cable this one's going to come
in two parts
we need the four plastic hard drive
attachments
the esata cable
this little bag has eight screws we're
gonna need two per hard drive
the screwdriver phillips head
and then your hard drives finally we're
gonna need that 32 channel nvr
so let's get stuff plugged in and we'll
show you guys how this all works so
before we plug this device into the nvr
we got to prep our hard drives to
install into the sata box to do this
it's pretty easy we just have to attach
this little plastic piece to the front
when we're connecting this little
plastic piece we just have to make sure
we're attaching it to the opposite end
of the hard drive that our sata
connections are found
our static connections are identified by
these metallic connectors here there's
going to be one long one and one short
one
so now that we've identified the
opposite end now we're going to see
these two screw holes on each side of
that hard drive and that's where you're
going to actually mount it to
so using the phillips screwdriver i'm
going to tighten these sides make sure
that the up signal is actually pointing
up
and then you should be good to go i'm
going to repeat this for the next three
hard drives until they're all prepped
and looking good we're ready to install
them into the actual box again you want
the sata plug-ins going first
you're going to kind of feel them like
pop in there's not really a click but
you can definitely feel once it actually
successfully goes
in got my four hard drives
snug in there so now i'm going to put on
the door
so the first one this is a little bit
trickier kind of goes into this little
track on the bottom
and it clicks in just like that
now to remove this for future reference
if you see these two tabs you just push
down on them and it opens up like that
okay that's in
and then finally the door for the device
next we're going to plug the power cable
in the power connector is on the side
towards the back
and then i'm going to run that to a
standard wall outlet next i'm going to
plug in the sata cable
from the esata box all the way to the
red esata port on the back of the nvr
okay now the pro box is ready to fire up
so i'm going to hit the power button
and you're going to see it sort of
initialize itself
we need to make sure it's registered to
the e sata connection and not the usb to
change where it's reading from we just
want to hold the interface button on the
upper right corner
until we see that little light change
over to esata
this last button here controls our fan
and the indicators represent what fan
power that you're on
my recommendation is going automatic but
if you guys are wanting something in
particular or if a fan is too loud you
can set it to one two or three one being
the strongest fan setting and three
being the weakest fan setting
next we need to sync it up with our nvr
so assuming your guys nvr is already
powered on we're going to press and hold
the sync button
and you're going to see this little
arrow turn blue when it's properly
synced
all right now that we have all the hard
drives installed the esata box is
connected to the nvr and of course it's
showing all of our proper indicator
lights saying that it's working and that
it's synced up we're ready to log into
the nvr interface and we're going to
check our storage components just to
make sure that those hard drives are
being read properly and that we can see
the esata box is detected on our nvr
all right first we're going to go to the
main menu so right click anywhere on the
screen and choose main menu
then on the bottom we're going to go to
storage
and once we're in storage we're going to
look on the left side and we're going to
click on manager now we can see all of
our esata hard drives that they are
indicated as such
and of course we can also see the hard
drives that are located internally on
the nvr it's going to show you the read
and the right values it's also going to
show you the available space versus the
total space on that hard drive
okay as long as we can see our hard
drives are available on our nvr you guys
are finished with this and your esata
box is properly set up
okay guys that completes the esata box
tutorial hopefully everything went
smooth for you guys and you're now
looking at additional hard drive storage
on your 32 channel system if you guys
ran in any obstacles or if you have any
questions about this process or anything
else monavie related give our tech
support a call we are here monday
through friday and we will answer any
question you guys have for us
as always i appreciate you guys checking
out the video please like and subscribe
down below i'm on the road to a thousand
subscribers so help me get there i'd
like to be there sooner than later so
thank you for that and you guys have a
fantastic day thank you for choosing one
of you
you

