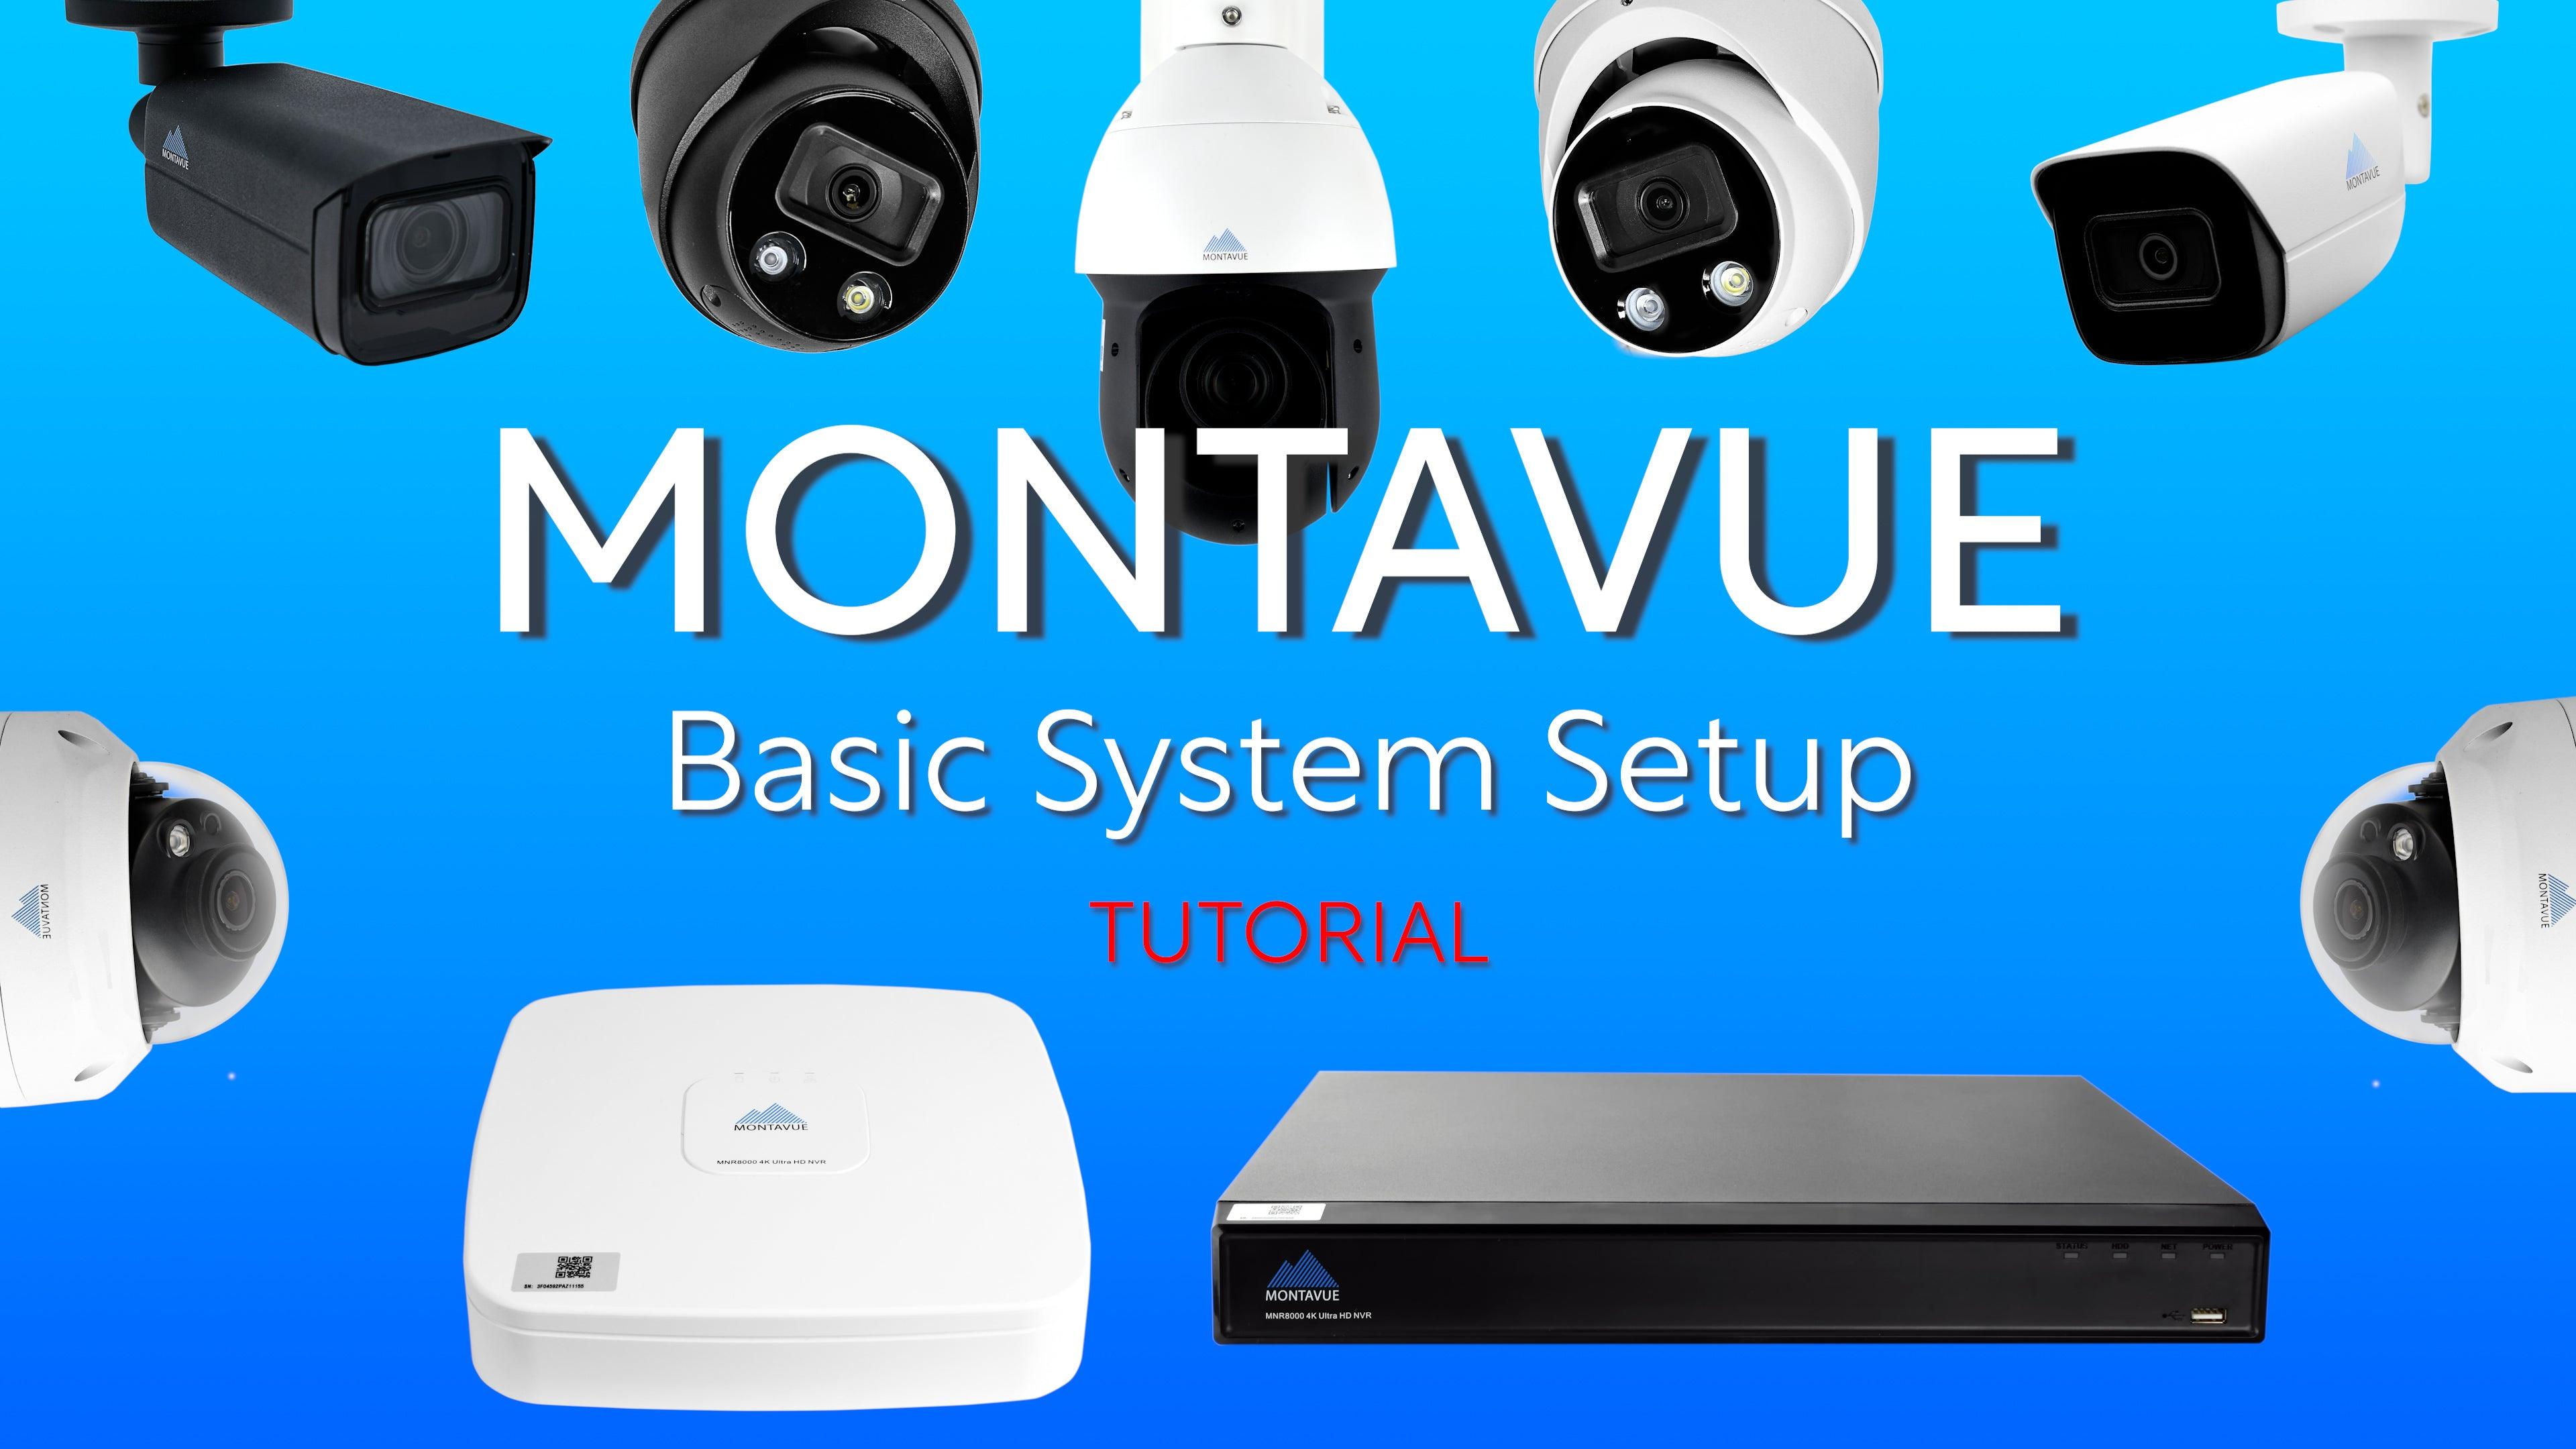

Video Transcription
hey guys welcome back to monaview today
in this video we're going to be going
over standalone cameras and how to set
them up in their most basic form
what this is going to include is
plugging in the camera
hooking it up to a network and then
finally initializing it using the
monteview go mobile application
so let's get started
first of all what we mean by standalone
camera is using any montague ip camera
without the use of an nvr
not using nnvr does have its pros and
cons mainly the biggest pro is that it
is cheaper obviously because you don't
have to purchase the nvr and the hard
drive that comes along with it
the cons are that you're limited on
recording capacity simply because you
can only fit a micro sd card into each
camera
which
topping out at 256 gigabytes you're
looking at about two to three days of
recording time uh these cameras are
capable of recording on motion only
which could extend that recording time
so it's something to think about when
you guys are setting these up
another con to not having an nvr is if
you guys choose to have one or more
cameras
there is a complication where you have
to interact with each camera
individually whereas an nvr provides you
a single interface to manage all of your
cameras at once so if you guys are
getting more than two or three cameras i
probably advise you to get an nvr but if
you're going to continue using a couple
just single cameras then we're going to
watch this video to see how to set them
up
so first off you have two different
methods of how to plug these cameras in
to get them powered and integrated into
the internet
first of all you want to plug into a poe
switch this is your first option
to do that you need a poe switch just
like this one
and then you're going to basically plug
in the ethernet cable
one of the regular ports
done
so the poe switch is going to actually
provide the power as well as the
information transfer to the camera and
then of course to get it to the internet
the poe switch needs to be plugged into
a router
so
you want to go from the network port on
your poe switch now all of them have
this it may be called an uplink port for
some of those poe switches that we don't
sell
but for ours
it is this one
boom just like that
now uh the camera is ready to be found
on our montevideo mobile app so the
second method of plugging your camera in
if you guys don't want to use a poe
switch is to use a dc 12 volt adapter to
plug your camera into a wall outlet
so how this is going to work is we will
take our dc 12 volt adapter the end
looks like this
and then we're going to plug it into the
adapter piece on your guys camera
all right so then we just want to plug
that into the router directly from there
so the camera is getting power from the
wall outlet and the information
transfers straight to the router
now we do see some people plug these
directly into a computer or they'll plug
them directly into a modem unfortunately
this doesn't work simply because the
router's job in any network is to hand
out ip addresses which our cameras need
in order to talk to the internet
and unfortunately computers and modems
aren't capable of doing that so we want
to plug it directly into a router if you
guys are going through a power outlet
most poe switches will have indicator
lights on the front and what those are
going to tell you is an uplink and
they're also going to tell you if it has
power and this is really useful to tell
if your camera is actually receiving
signals from the unit or if it's being
powered so refer to these lights when
you get the camera plugged in just to
make sure everything's working properly
alright for this next step we need to
initialize the cameras which basically
involves logging into their interface
and getting them started we can actually
do all of this with a mobile phone so
as long as you guys have a smartphone
let's go ahead and get that out
and what i'd like you to do is download
the monteview go mobile application it
is free to download so go ahead and open
up your app store
type in monteview go mobile
and then go ahead and download that
once you guys open up the program first
time users you'll be prompted with
choosing united states country of origin
language all that boring stuff so go
ahead and just cycle through that
and we want to get to the home screen
so once we're at the home screen we're
going to press the plus button in the
upper right corner
and we're going to choose online search
now as long as your guys phone is
connected to the same router that your
guys cameras are this will work just
fine
if you guys aren't go ahead and open up
your wi-fi settings for your phone and
connect to your guys's local router
right now
once you're connected go ahead and do
that online search and you'll see here
it's going to find all my devices that
are plugged in now this is montevideo
headquarters so we have quite a few
devices so my advice would be to locate
your serial number
and that is basically on this little tag
below and as soon as you have your
serial number you should be able to
identify your camera on this list if you
guys do have more than one
so once you've got that serial number
picked out we're going to find that on
the list and we're going to see here
that my ip address is 192.168.0.218.
now that i know that i p address i'm
going to actually copy it on this page
and then what we're going to do is we're
going to open up any web browser now i'm
going to do this on my phone but again
you guys can do this on any pc or mac as
well
and then in the address bar at the very
top we're going to put in that ip
address so i'm going to hit search and
it should bring you to a login screen
for that camera and now we have the
opportunity to initialize that device
so i'm going to go through the
initialization process again we're going
to be choosing country of origin
language video standard should be ntsc
all right after we set our location
settings we're going to go ahead and hit
next
and this time we're going to choose our
time and date settings so first of all
i'd like you guys to choose your time
zone for me i'm going to choose mountain
time that's where montana is okay after
i've chosen my time zone then i'm going
to set my time
keep in mind this is military time so
it's going to use the 24 hour clock
and once you guys have that set make
sure you have the correct date chosen
and then we're going to hit next the
next screen is going to ask us to create
a password your username will always be
admin in all lowercase letters a-d-m-i-n
so really we're just creating a password
for this device and that's about it
you'll probably want to enter in an
email down below this is just in case
you guys ever forget your password we're
going to use this email in order to
recover it in the future
so once we have that let's go ahead and
hit next
and as soon as we get this camera
initialized it's ready to go and to
access it from this point on all you've
got to do is remember that i p address
and you can either access it through
your computer or your mobile phone again
as long as you're in the same network as
your cameras
if you guys are outside that network and
you want to access it what we can do is
we can add it to the mont view go mobile
application
in order to add it to the app what we
want to do is let's go ahead and open it
up again let's go to the home screen and
we're going to press that plus button in
the upper right corner this time we're
going to choose serial number scan or sn
scan
and then we're going to choose manual
enter at the very bottom so once we
choose manual enter it's going to prompt
us to type in that serial number and
again it is found on the camera itself
or you should have that serial number on
the login page
and remember to capitalize each letter
and any zeros you guys encounter are
actually the number zero never the
letter o
as you can see i put in my serial number
and if it asks you to choose local or
account make sure we choose local if it
doesn't prompt you guys with this that's
fine that's actually better but if you
guys are seeing these two options we
always want to choose local for all of
our devices
so we're going to hit next and it should
take us to a type of device screen so we
need to choose wired camera on this
screen so if we reach this next screen
that means your guys's camera is online
everything's working well and here it
just wants to ask us for our credentials
so here a device name this can literally
be whatever you guys want to call it
this is totally custom this is how it's
going to show up on your application's
home page
then finally you just need to put in
your guys's password that you just
created for that camera and go ahead and
hit save in the upper right corner
now once you guys hit save it should
bring up a live view of that camera and
now you've successfully added to your
phone and this should be able to be
viewed no matter where you're at in the
world
all right guys that's all i've got for
you and if you guys have any trouble
plugging in these cameras or getting
them going feel free to call tech
support we're here monday through friday
to answer any questions about this or
any other aspect of the montevideo
systems
as always i really appreciate you guys
checking out our videos please like and
subscribe down below it lets you guys
get notified when we're dropping new
content
speaking of that we will be releasing an
advanced standalone video and this is
going to delve more into the
logging into the interface and more of
the intense options that you can do from
a computer so stay tuned for that one
thank you for checking out one of you
guys and you have a fantastic day