Video Transcriptiion
hey guys before we start this video i'd
like to make a little disclaimer
um i do record these videos from a
capture device that is directly linked
to the nvr
in the process of this the video
resolution does get downgraded from 4k
or 2k
to 1080p and so the images you see here
are not 100 representative of the actual
image quality of our cameras
thanks guys for understanding and i hope
you enjoy this video
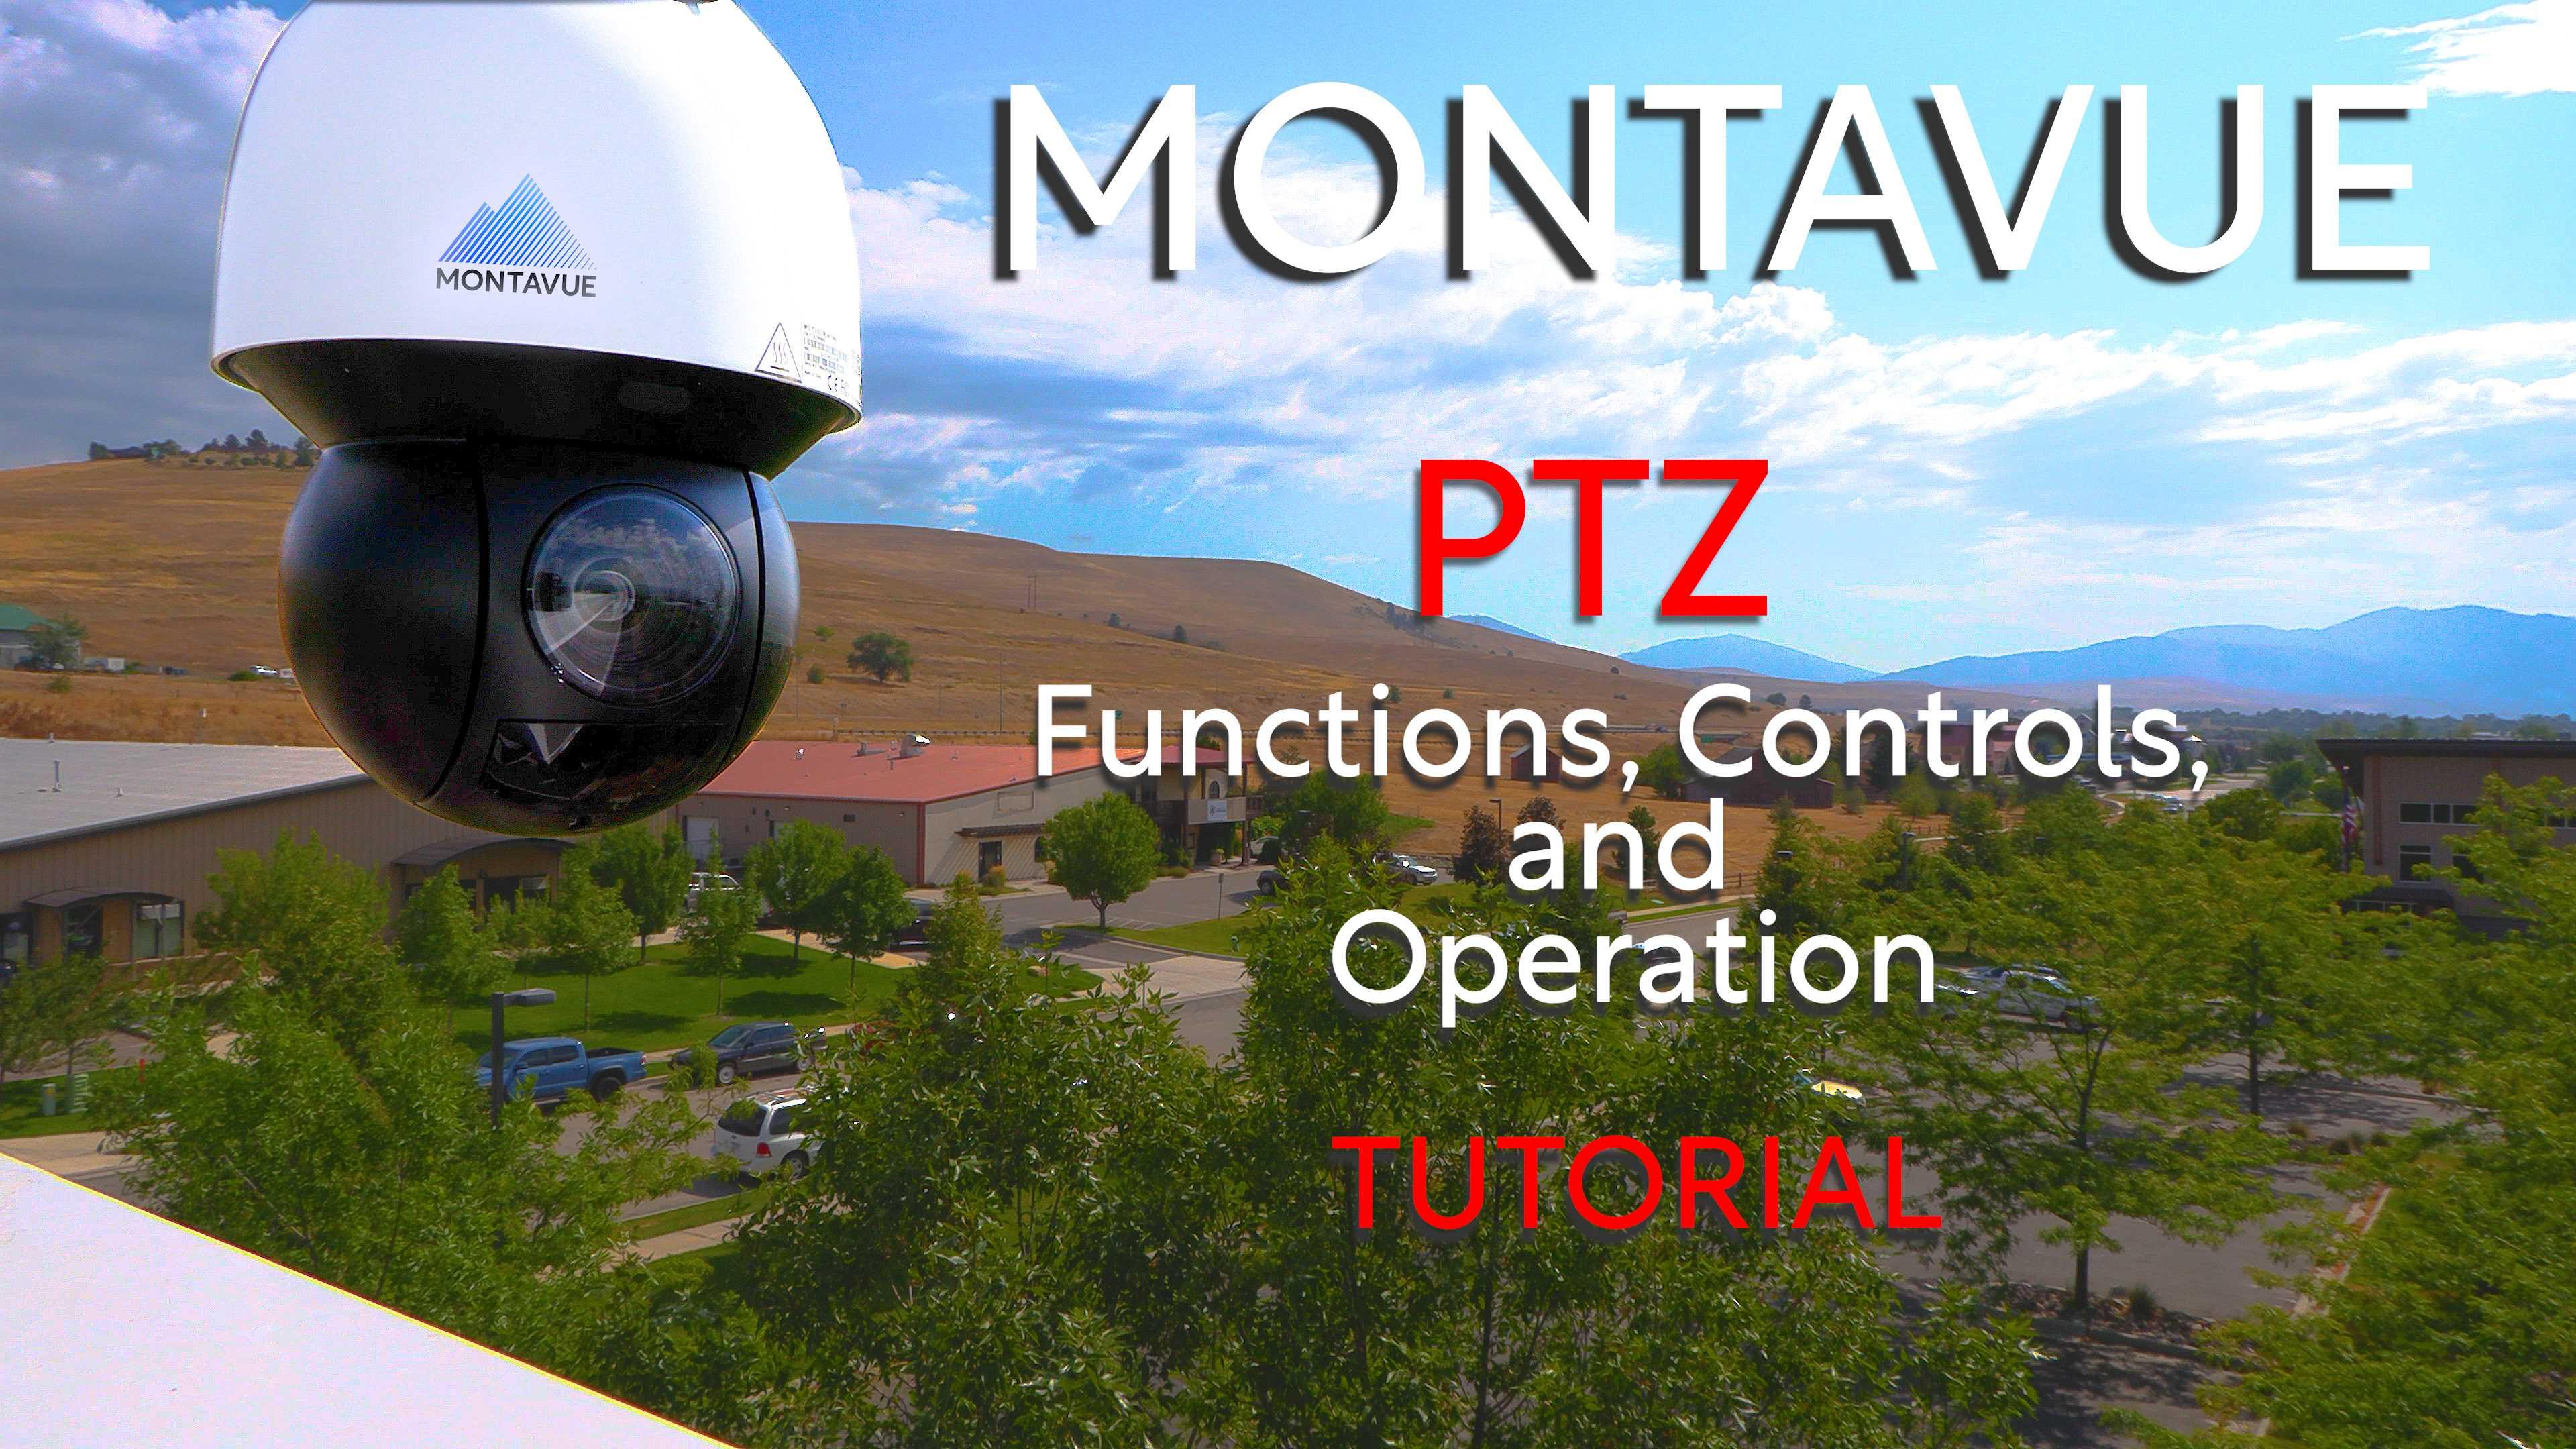
hey guys welcome back to monaview today
i'm going to be showing you all of the
ptz functions and the controls
as they are found on the nvr interface
so to start this of course we're going
to want to be on the nvr directly with a
monitor attached via hdmi
and for this demonstration i'm using an
mtz4250
and i've got it in full screen and to
full screen any camera just go to the
live view
and double left click okay so once we
get that camera opened up in the full
screen the first thing we're going to do
is right click
and we're going to choose ptz this is
going to open up the ptz menu
and on the left side you've got your
control pad this can make the camera go
up down left right diagonal
and then of course you've got your zoom
focus and your iris
now focus and iris are done
automatically by a mountain view camera
so you most likely will never have to
operate these functions
however of course you have your zoom in
and out so
depending on what ptz camera you guys
have you're going to have varying
amounts of magnification
in this case i've got 25 times zoom so
i'm definitely going to use
that ability to its maximum so the
primary focus of this video
is going to be showing you guys how to
set up camera ptz
presets as well as how to integrate
those
into a tour or a patrol mode
so to start off we're going to want to
set a preset now what a preset
is is think of it like a checkpoint that
the camera remembers to go to
now you can combine multiple presets
into what's called a tour
and a tour moves the camera from one
preset to another
in a certain amount of time therefore
setting your camera on a patrol mode
throughout the day
so to start this off to get to the
preset menu we're going to expand the
menu we're going to see all these icons
here
and we're going to choose the gear wheel
icon in the lower right portion
once we choose that we're going to see
our option for presets and tours
and we want to have the preset tab
selected
next it's going to say new w and then
the number one
so this is a good thing we want to be
new settings and of course we want a one
for preset one
so at this point we want to position our
camera into the location that you want
to save
as your first preset and once you have
that spot chosen
i'm going to do the delivery area of our
parking lot
we want to click setup and it's going to
give you a confirmation of preset one
in the upper left corner if that takes
it and is accepted
to set up a second preset just move the
camera
to whichever direction you want find
that location for where you want that
second spot to be
and then put a 2 in the box underneath
any w
and then again hit setup you're going to
get confirmation in the upper left
corner preset 2
and then we can move on to preset 3. so
for preset 3
i'm going to do something specific and
actually set up a zoomed view
so to do this we just need to
temporarily back out of the preset menu
use the zoom function and then once we
got it in that location that we want to
save
our third preset just open up the preset
menu by selecting the gear wheel icon
again
put a three in the little box there and
click setup
again we're gonna get confirmation for
preset three
so i'm gonna set up a fourth preset the
very same way
just to give you guys a little variation
of the locations for this camera
once i've got preset 4 set up now i'm
ready to set up a tour
so to do that i'm going to left click on
the tour tab up top
and it's going to start off saying
preset one patrol one
patrol one basically means the num the
tour number
you can have multiple tours on a camera
in case you want to
switch up you know which kind of patrol
it's doing that day
but for this one we're going to keep it
simple one tour four presets
so to add a preset to the tour is pretty
simple where it says preset one
you just simply put that in there and
then click add preset
there is no confirmation and there's no
really waiting so
this part you just have to sort of trust
that it's adding into the system
and once you hit add preset you're gonna
change preset to two
and then hit add preset and then
likewise for three and four
once you get all four of those added in
now we're ready to start our tour
so we're gonna close out of this little
menu and we're gonna go back to those
icons that we were seeing earlier
now out of these icons we're looking for
the one that looks almost like a
triangle
with three dots with arrows pointing at
one another this is
your tour mode so we just have to left
click this button and your camera will
automatically start going
into preset one then to two then to
three then to four keep in mind that
whatever order presets you add to the
tour
is the order that it goes to those
presets so it doesn't necessarily have
to be one through four
you could do one three two or any
combination you can think of
so that's two remote and of course to
bring it out of tour mode we're going to
left click on that same button to stop
the tour
all right now that we got presets and
tours down i'm going to show you guys
what the rest of the icons mean on the
ptz menu
so starting off with the upper left it
looks like a camera with a dot above it
this one is your preset button and this
will make the camera go to any preset
that you enter up above so right where
it says no period or number
and one you can type in four three two
one whichever preset you want to go to
and then left click on this little
camera button to actually activate that
function
of course then to the right of that
we've got our tour button
this will start and stop a tour all
right so the icons to the right
of tour are going to be pattern and auto
scan i'm going to go over those here in
a minute because they're a little bit
more in depth
first i'm going to show you the icons on
the bottom so first we're going to have
auto pan in the lower left corner as
soon as you press this button
your camera will just do a continuous
circle
it will basically do a 360 pan until you
tell it to stop by clicking on the auto
can button again
the flip icon actually currently does
not have a function
we are planning to implement that into
future ptzs but essentially what that's
going to do
is it's going to flip the camera 180
degrees not a super useful feature but
we are working on implementing that
soon the next button is going to be
reset
this is any function that the camera is
currently doing whether it's in tour or
of auto scan or whatever
if you press the reset button it will
stop whatever the camera is doing
so if the controls have gotten away from
you just press the reset button to stop
any kind of function the ptz may or may
not be doing and then finally of course
you have your gear wheel icon and this
is how to get into the expanded menu
so the next thing i'm going to show you
guys is how to do pattern and auto scan
so pattern this is actually pretty
useful how we set that up is we're going
to click the gear wheel icon
and then on the expanded ptz menu we're
going to select pattern
on top this is pretty easy you can have
multiple patterns if you guys want but
again we're going to put in pattern one
and we're just going to simply click the
start button once we click the start
button it is going to remember
every single move that we make so you
basically want to move your
camera into a pattern that you want it
to remember
perhaps it's a patrol or something like
that
once you're done moving around your
camera you're going to want to click end
and then that will lock that pattern
into a
saved pattern that you can implement
later
so of course to make it start doing that
pattern we're going to go back to the
icons and we're going to click start
pattern
and as you see it follows our movements
exactly as we put them before
it even tells you how far along the
pattern it is in the upper left corner
and if you keep it on that it will just
keep repeating that pattern until you
tell it to stop
okay so for auto scan first we need to
set up what's called a border to do this
we're going to click on the gear wheel
icon in the lower right corner
and we're going to choose the border tab
now all this is is we're setting up the
farthest left
and the farthest right that we want the
camera to possibly go
so pretty simple stuff here so the first
thing i'm going to do is move the camera
to the farthest right
that i want it to go then i'm going to
click right
then i'm going to move the camera to the
farthest left i want it to go and i'm
going to click left
now that i've got my border selected i'm
going to go back to auto scan
and i'm going to left click to start
that and as you'll notice it'll just
keep putting the camera bouncing left to
right
not going any further than what i've
dictated my borders to be
of course the camera will keep doing
this until you take it out of auto scan
mode
all right guys that's all the info i've
got for ptz functions and the controls
if you guys have any questions that go
beyond this or if i didn't cover
something
or if you guys are running into some
problems with your ptz
cameras of course give our tech support
a call we can help you guys out of
pretty much
anything as always thanks for stopping
by monavie studio you guys i'm really
appreciative that you guys are checking
these videos out and are actually
learning from them
i'm hoping to make more and more as the
weeks go by so stay tuned for those
and you guys have a good day thanks

