Video Transcription
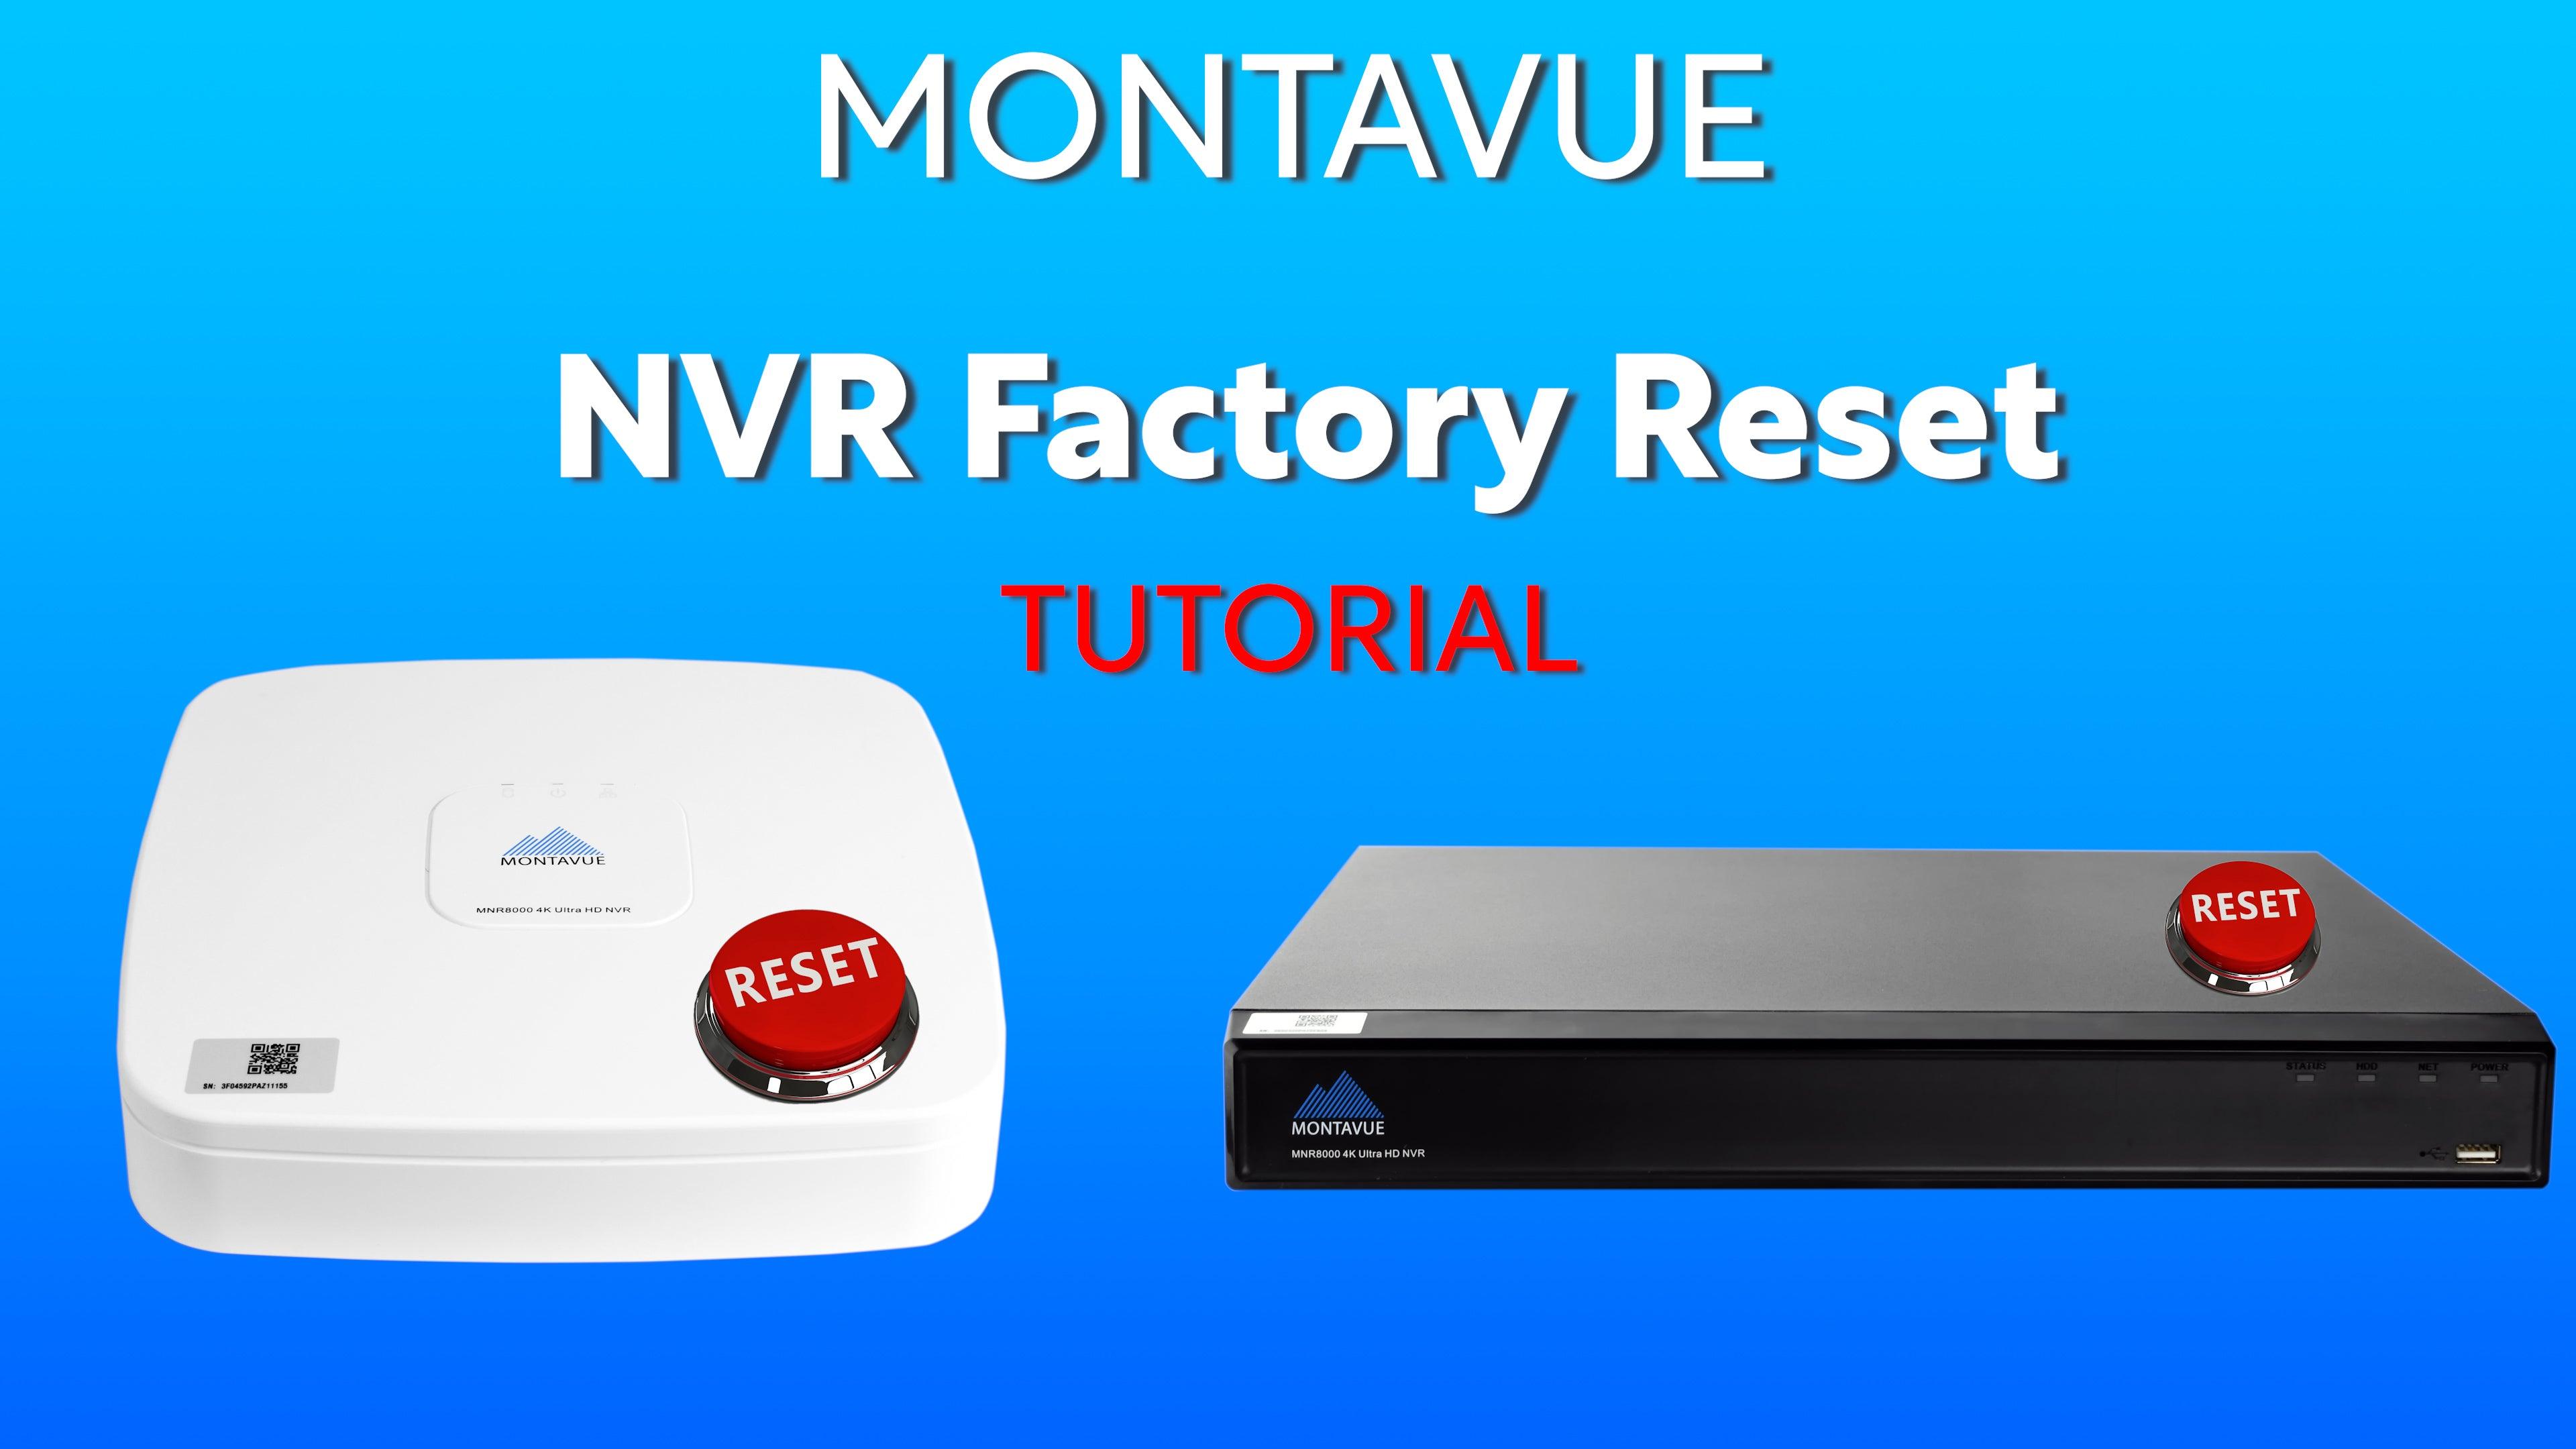
hey guys welcome back to monaview today
we're going to be giving you a full
tutorial on how to factory reset your
montague nvr
a factory reset is generally considered
a last resort option when it comes to
troubleshooting
but every once in a while we think it's
necessary because
there are just some issues and glitches
with these nvrs that are although
they're very uncommon to happen when
they do it can be pretty frustrating and
so a factory reset is the ultimate
option to fix those problems
so there are two ways to factory reset
any montague nvr
one of them is to go in through the
actual nvr interface on the display and
then there are actual options to
digitally reset your nvr now this does
require that you know the password to
the device and so sometimes that
presents a problem because
there are quite a few of you that
actually forgot or forget your passwords
so
in that case there is a way to
physically reset the nvr and so we're
going to go over both of those options
in this video and so you guys are
squared away and can fix your guys's
systems want to take a moment here to
remind you guys to like and subscribe to
the channel it helps me out tremendously
with analytics and letting you guys know
when we're dropping new content for the
channel so hit that like and subscribe
button it is much appreciated thank you
guys
so the first step with the digital
version is we're actually going to log
into the main menu of the nvr through
the nvr display so to do that simply
right click anywhere on the screen and
choose main menu and then it's going to
ask you to either type in your password
or to enter your pass key once you guys
have entered your password then we're
going to go into the main menu and we're
going to select maintain
once we're in the maintain menu we're
going to look left and we're going to
find manager
and once we've clicked on manager we're
going to see these tabs on the top and
we're going to choose the default tab
now once we're in the default tab screen
we're going to see the option for
factory reset now you may see an option
for just a standard default this isn't
quite the same thing that's really just
defaulting these settings what we want
is a total factory reset so that's what
we're going to choose back in my tech
support days i would always have my
customers unplug their cameras from the
back of the nvr while the nvr is being
reset
now this isn't a timed thing you don't
have to do it before it comes back on
but in general i like to initialize the
nvr without anything attached to it that
way i know i'm dealing with just the nvr
and no
additional problems
so in my recommendation once you guys
actually hit this factory reset button
or if you guys do the factory reset on
the display menu
go ahead and unplug your cameras for the
time being if you guys want to remember
a specific channel or port that these
cameras belong in make sure you mark the
cables before unplugging them from the
back of the nvr and for those of you
with the newest firmware it should ask
you for a password at this point
and here's where most people sometimes
get stopped and that is where you would
need to know the password in order to
proceed
so
if you guys know the password go ahead
and punch it in for the nvr and hit ok
and you'll actually see it start to
reset
now that the nvr is back and powered up
we are going to start the initialization
process
so the first screen is pretty simple
it's going to ask us the location the
vast majority of you should choose
united states
then it's going to ask you for your
preferred language
and then of course the video standard
now if you guys are in the united states
it should automatically change the video
standard to ntsc
however if you guys are in europe you're
going to want to use the pal or pal
video standard
all right last thing on this page is
we're going to deal with time settings
so first of all we definitely want to
set our time zone first so you're going
to see me i'm going to be choosing
mountain time that's montana
and then after i choose the time zone
i'm going to make sure that the time is
correct for my region which it already
is so i'm good here
then finally i'm going to look at dst
this stands for daylight savings time
and i'm just going to leave this off now
this does depend region by region if
your state adheres to these laws but if
you guys want to set up a daylight
savings time schedule right here this
would be the place to do it
however personally
i find it easier just to jump on my nvr
and change the time twice a year
it's not too difficult
and hopefully if we're lucky enough
daylight savings time will be a thing of
the past here pretty soon
finally you're gonna see this online
update option if it's blue that means
it's active and your nvr will be
qualified to automatically update over
the online process
and if it's gray that means it's gonna
require that you manually search for the
updates when they're available
so now that we got that let's go hit
next and it's going to ask you for a
password now for those of you that knew
your password for your nvr this is
imperative that you use your exact same
password as you were using before
this is because your cameras are
embedded with that old password each
individual camera holds that password
and so right now if you choose to change
your nvr's password they will no longer
sync up and all of your cameras will say
username or password incorrect for those
of you that forgot your password go
ahead and just put one in and we'll have
to just factory reset those cameras when
we get everything established next it's
going to ask you for a pattern now this
is totally optional you guys don't even
have to have a pattern and it does not
have to be the exact same pattern as it
was last time you guys can make a new
one if you'd like
the next screen is going to have us put
in an email and a list of security
questions this is to recover your
password in case it's ever forgotten in
the future keep in mind the nvr
questions take a long time to enter in
so here i'm going to advise you guys to
turn this little switch from blue to
gray that way we don't have to deal with
that long process of answering those
questions and if you guys want you can
pop in an email here if you choose to go
without the email or security questions
in the future when you guys go to reset
your password it will simply just ask
you for an email at that time
and the next screen here we are choosing
our internet options now i would
recommend everyone click on dhcp
basically it makes it so your nvr
finds the router ip address
automatically and it assigns itself one
that is going to work with your system
if you guys know what you're doing you
can manually set an ip address here
but for most of you just choose dhcp
keep it easy on yourselves and go ahead
and hit next now these next few screens
are not really pertinent to what we're
trying to do
and so often when you guys call i
basically rush you through these next
screens because we don't really need
them so
that's exactly what we're going to do
right now go ahead and just blast that
next button until we see the message
thank you for purchasing our product
once you guys see this go ahead and
click ok now we're at the point where we
can take those cameras and start
plugging them into the back of the mbr
so in this case once you guys get your
cameras plugged in your direct nvr
cameras are plug and play so if you guys
got that password correct and it matches
up with your cameras they should pop up
automatically right away and just
remember whichever port you're plugging
it into is what channel it's going to be
in port 5 channel 5 port 7 channel 7.
keep in mind though that because we did
a factory reset on your nvr there are a
few settings that we have to go back in
and reestablish
now anything associated with the cameras
typically like your tripwire uh or your
schedules associated with those motions
those are actually saved in the camera
itself so those settings you won't have
to readjust
the two things that you will definitely
need to go take a look at are your
motion settings if you guys are just
using standard motion detect you're
going to want to go back in the main
menu then alarm and video detection and
make sure that those cameras are still
enabled for motion
the next thing you'll want to do is if
you guys have an altered recording
schedule by default the nvrs are going
to record everything 24 7.
but if you guys had an adjusted schedule
where maybe you were recording just on
motion only or tripwires then you're
going to want to go into storage
schedule
and then go ahead and reestablish those
schedules for your cameras
lastly if you guys did have any cameras
that were on a poe switch coming in from
a network you're going to want to
re-establish those using the camera list
so we're going to go to main menu
camera and then we're going to do a new
search
find all your guys's cameras on your
list and then go ahead and add them back
in
now just like the registration video
says make sure you guys add all of your
nvr cameras first this is because they
will occupy those ports and if you bring
in a camera from the network on the say
port one and then you try to plug in a
camera to port one there's nowhere for
it to go that camera just simply won't
exist
so make sure you do your direct nvr
cameras first then go ahead and take
care of your network cameras after all
right now we're going to show you guys
how to physically reset your nvr so this
is different depending on which type of
nvr you have if you have the black mvr
then what we're going to do is we're
actually going to unscrew the four
screws from the back of the nvr and
we're going to take the entire top off
now as you'll see once we can see the
inside of the nvr we're going to find
this little black button that is based
in the motherboard just over here to the
left side and to reset the nvr what
you're going to want to do is you're
going to turn it off using the power
switch in the back
then you're going to hold that button
down
and you're going to turn your nvr back
on
once you've turned your nvr back on keep
holding that button and you're going to
hear a very long beep emit from the nvr
at this point you know that the factory
reset has taken place and you guys can
go ahead and let go of that button the
whole process generally takes about 10
to 15 seconds
and then the actual nvr power up might
take anywhere from two to three minutes
once it comes back up again it should
look like it's being turned on for the
very first time and you're ready to
initialize it
the white nvrs now what you're going to
have to do for these ones is you're
actually gonna have to turn them upside
down
once you've got them flipped there are
four screws at each corner that you're
gonna have to undo
and essentially this entire nvr comes
apart the entire top comes off so once
you're inside again just like the other
one you're going to look on the
motherboard and you're going to see this
little tiny black button
and since the white nvrs don't have a
power switch what you're going to want
to do is just go ahead and unplug the
power from the back
then you're going to hold that button
down
and then plug that power back in
we're going to wait for a long beep it
should only take about 10 to 15 seconds
and then after the beep is done go ahead
and let go of the button and the nvr
will re-establish itself and ask for you
to initialize it once it's back and
turned on
alright guys that is all the info i have
for your nvr factory reset now at the
end of this after you guys get
everything initialized and back online
if you guys are still missing some
cameras due to a password conflict it's
likely that you'll have to just factory
reset those cameras we do have a video
showing you guys how to do that with
every single type of monitor camera i
will post the link in the description
below and i'll put a link up in the
corner here
as always i appreciate you guys checking
out our videos if you guys have any
questions on this process or any other
montague product feel free to give tech
support or sales a call we are here
monday through friday for you guys
take care and thank you for choosing
monavie

