Wireless Chime Setup
Welcome! This guide will walk you through the steps to set up your Wireless Chime for an easy and seamless experience.
For the best setup, we recommend configuring the Wireless Chime before the Doorbell. Once the Chime is set up, your Doorbell will automatically detect it. You will also have the option to use more than one Chime with your Doorbell as well.
Wireless Chime Setup:
-
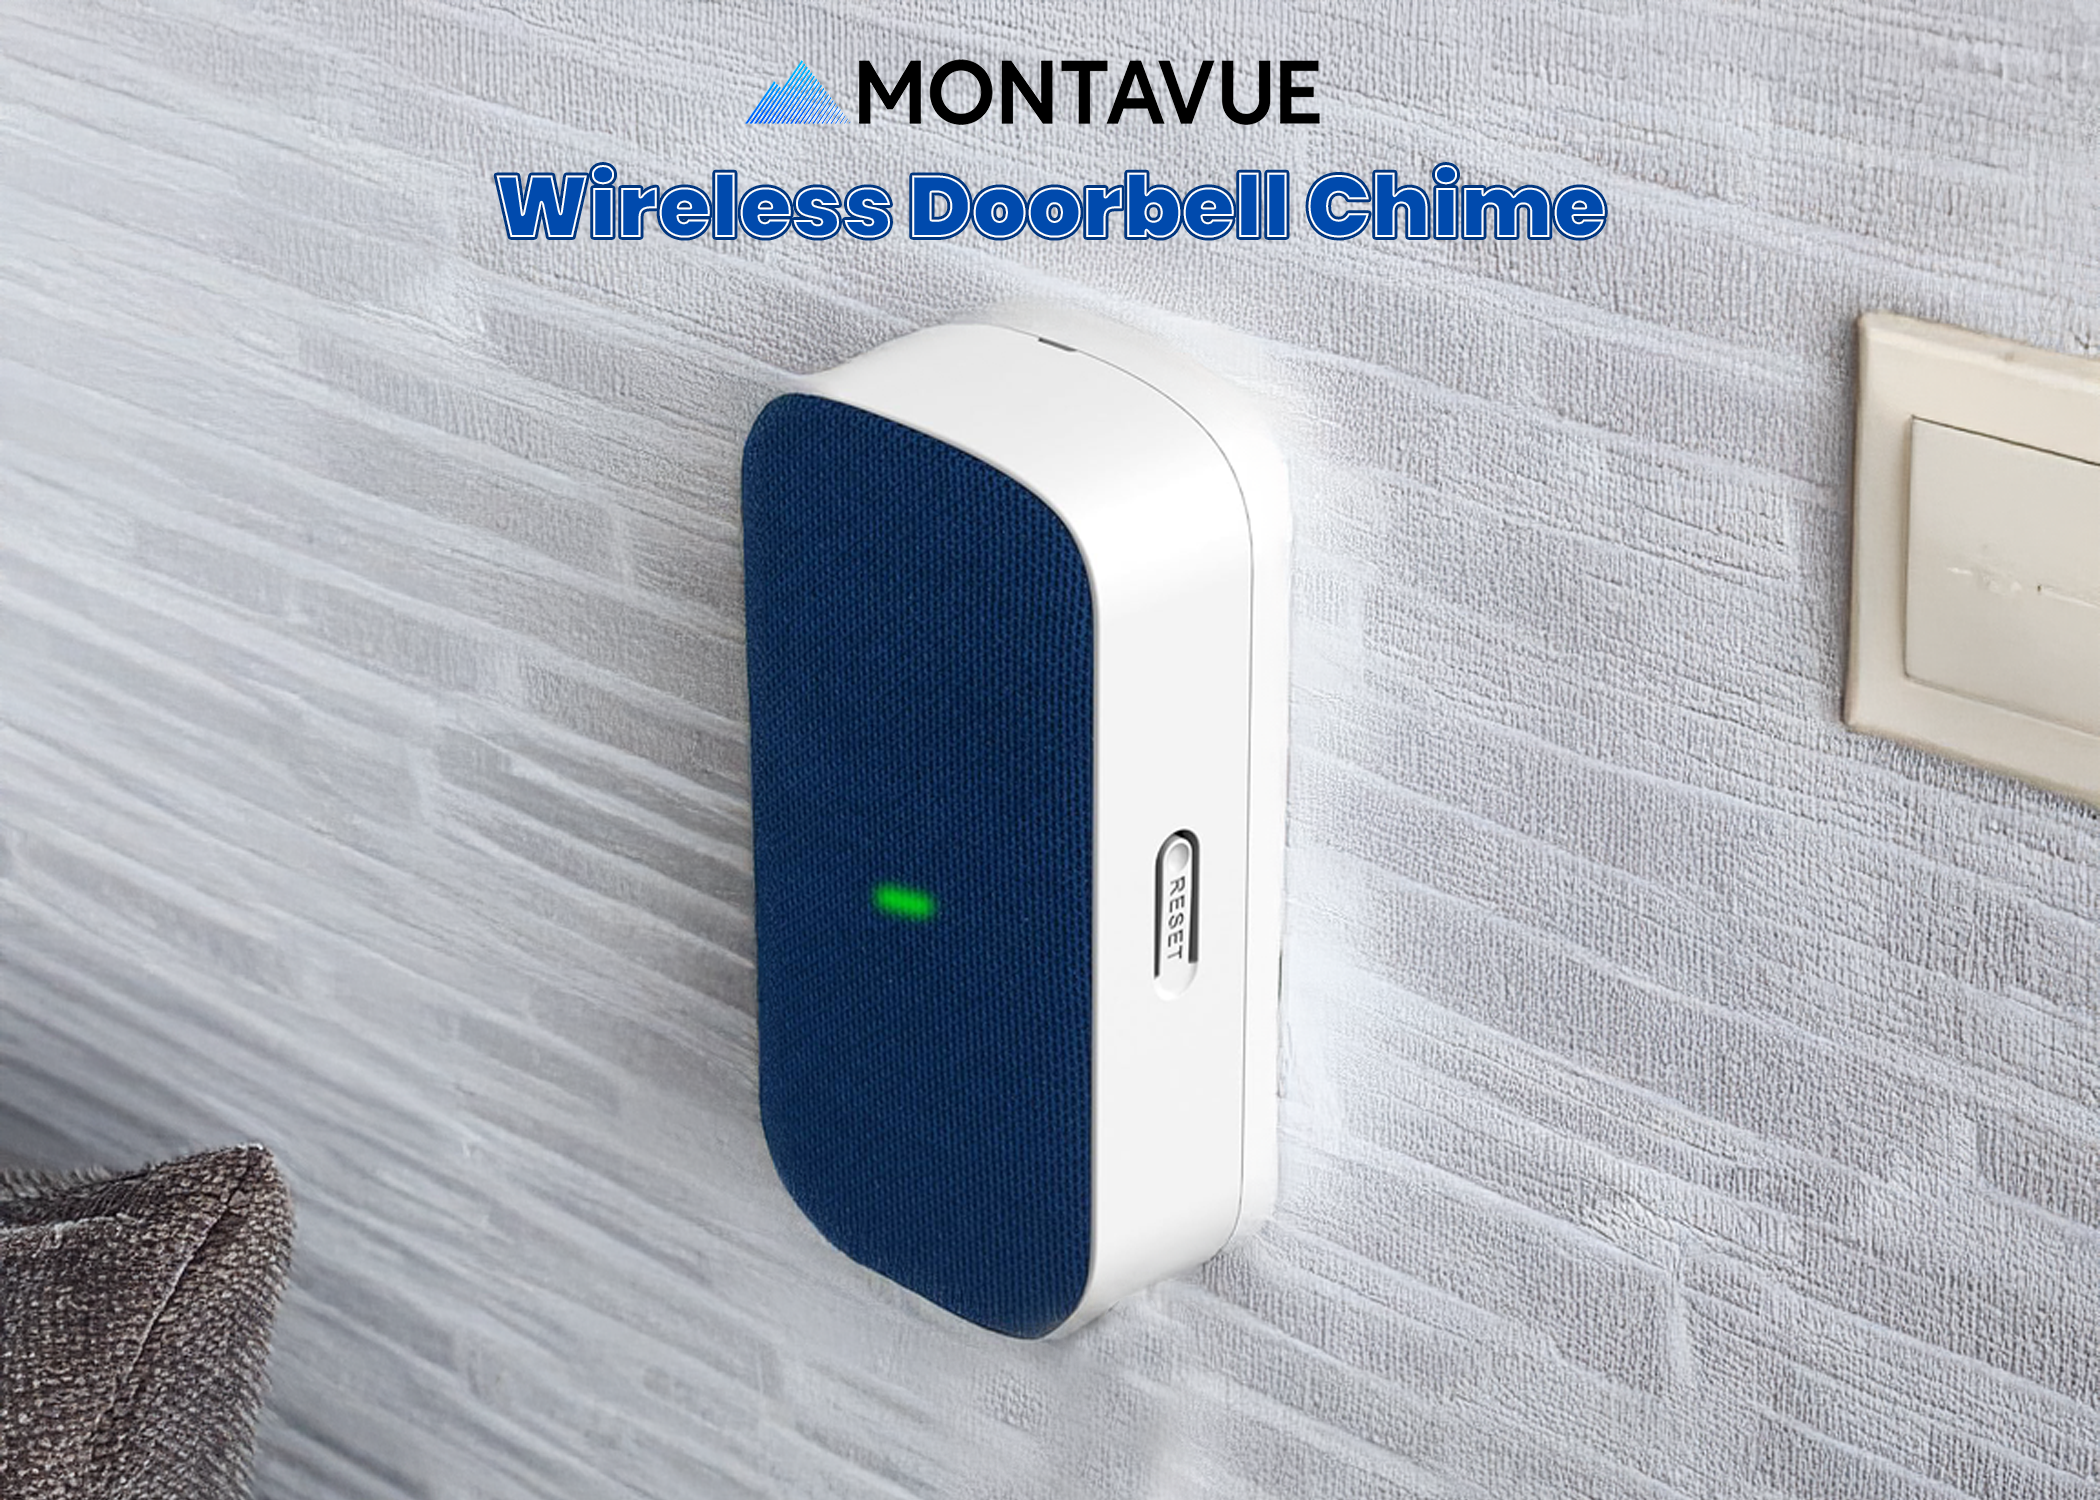
Plug in the Chime
Insert your Wireless Chime into a wall outlet to power it on.
2. Open the MontavueGo 2.0 App
Open the MontavueGo 2.0 app on your phone and ensure you're logged into your account.
3. Add a Device
Tap the "+" button in the top-right corner of the app.
4. Scan the QR Code
Select the "Scan QR Code" option and scan the QR code located on the top of the Chime. The SN number will appear, and you'll have the option to add the device to your Account or Local. Be sure to select Account
5. Enable the Hotspot
Follow the on-screen instructions to enable the Chime's Hotspot. If needed, press the **Reset** button to activate the Hotspot, and wait a moment before trying again.
6. Set Up a Password
Enter a password for your Wireless Chime. It’s recommended to use the same password you’ve set up for your NVR.
7. Connect to Wi-Fi
Choose your **2.4GHz** Wi-Fi network to connect the Chime.
8. Confirmation
Once the Chime is successfully connected, it will play an audio confirmation.
9. Name Your Chime
You’ll be prompted to name your Wireless Chime. After that, you're all set up and ready to go!
Adding the Chime to Your Doorbell:
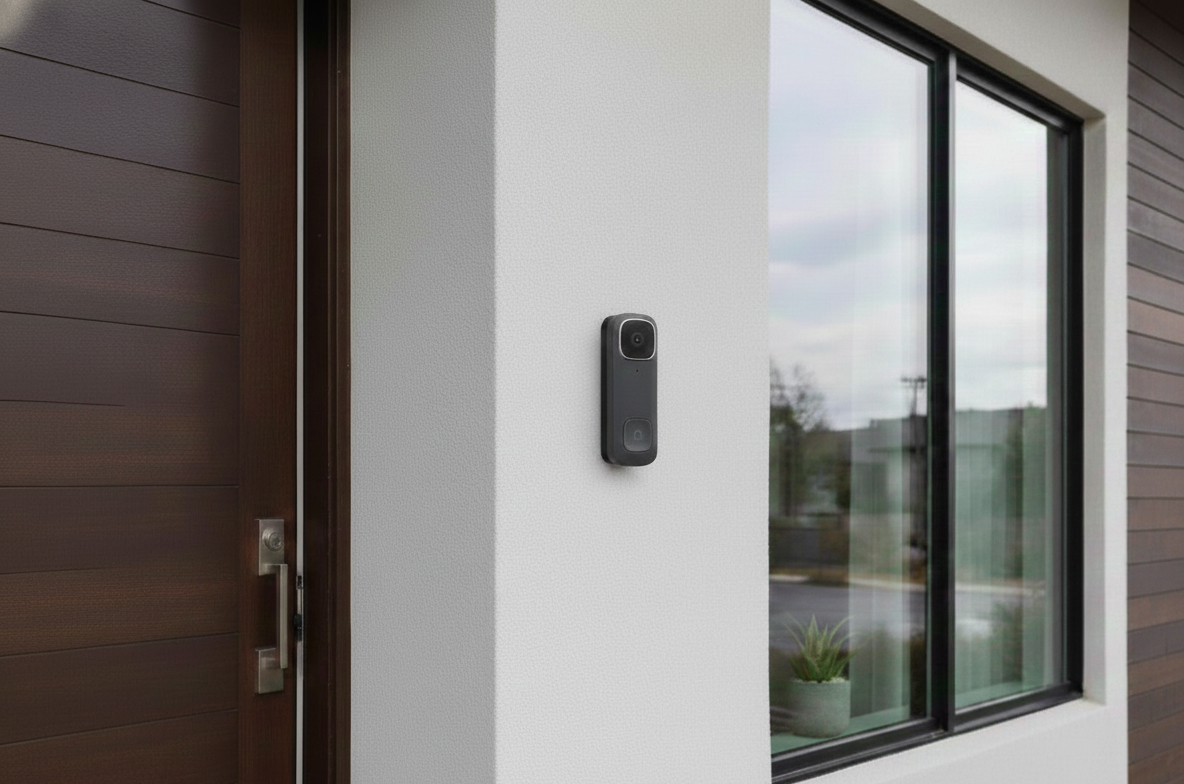
To integrate the Wireless Chime with your Doorbell, follow these steps below.
If you need to setup your Doorbell watch our setup video here.
https://www.youtube.com/watch?v=tZMHJnYuZsc
-
Select Your Chime
During Doorbell setup, you’ll be asked to choose the type of Chime you are using—either mechanical or electronic. Select **Wireless Chime**, which will appear at the bottom of the screen.
2. Adding a New Chime to an Existing Doorbell
If you’re adding a Wireless Chime to an existing Doorbell, open the Doorbell settings:
- Tap the **three dots** on the right-hand side of the Doorbell screen.
- Go to **Device Details**.
- Scroll down to **Chime Linkage**.
3. Choose Your Wireless Chime
You’ll see your Wireless Chime listed at the bottom. Select it.
4. Save Your Settings
Tap **Save** in the top-right corner to complete the setup.
Once done, pressing the Doorbell will trigger the Wireless Chime, alerting you that someone is at the door!
Enjoy your new Wireless Chime and Doorbell!

