
You have chosen the right manufacturer for your surveillance system. Montavue surveillance systems provide quality, reliable, and clear images for years to come. Before you set up your security system we want you to evaluate all of your installation options so you can place your cameras in the best place possible to get the best views, protect the cameras from glare, and try to avoid the harshest areas for the camera. As a leader in Do-It-Yourself (DIY) surveillance systems we try to make it as easy as possible for you to install your cameras with ease, and precision.
What do you need for your security system?
When buying a complete surveillance kit from Montavue you can rest assured you have everything you need to install your security system. Each complete system will come with the following:
- 100ft cable of Cat5e cable pre-terminated with weatherproof end
- Mounting Kit – drill template, screws, and wall anchors
- Network Video Recorder – power adapter, HDMI cable for your monitor, mouse, SATA cables and screws for extra hard drives, and small ethernet cable
- The only thing you need is a monitor, but you can use any computer monitor via included HDMI cable.
- You will need common household tools such as a drill and screwdriver
Example:
Wondering where to place your cameras?
All Montavue cameras, except our indoor PTZ camera, are weatherproof with IP67 ratings. You can place your security cameras where you need them most.
- Avoid pointing directly at light sources – this may cause a glare
- Avoid obstructions – try and place so that there are minimal things in the way so you can maximize what the camera views. Additionally, try and avoid where a tree or bush may sway close to the camera to avoid unnecessary motion alerts.
- Place cameras out of reach – try and place cameras out of reach to reduce the threat of vandalism. As all of our cameras are made of a metal housing they are strong and can endure vandalism up to a certain amount, no camera is vandal resistant
- Hide cables – Try to place the camera where you can run the cable through the wall to hide the cable so they aren’t visible to avoid someone cutting the cable. Common installs are in the ceiling, soffits, or on the side of buildings.
- Sheltered – To get better images during rain, snow, or ice, try to place in sheltered areas. It also extends the life of your camera.
- Obvious placement – If you want to deter people, try and place in obvious areas, as just the sight of a security camera will deter many individuals.
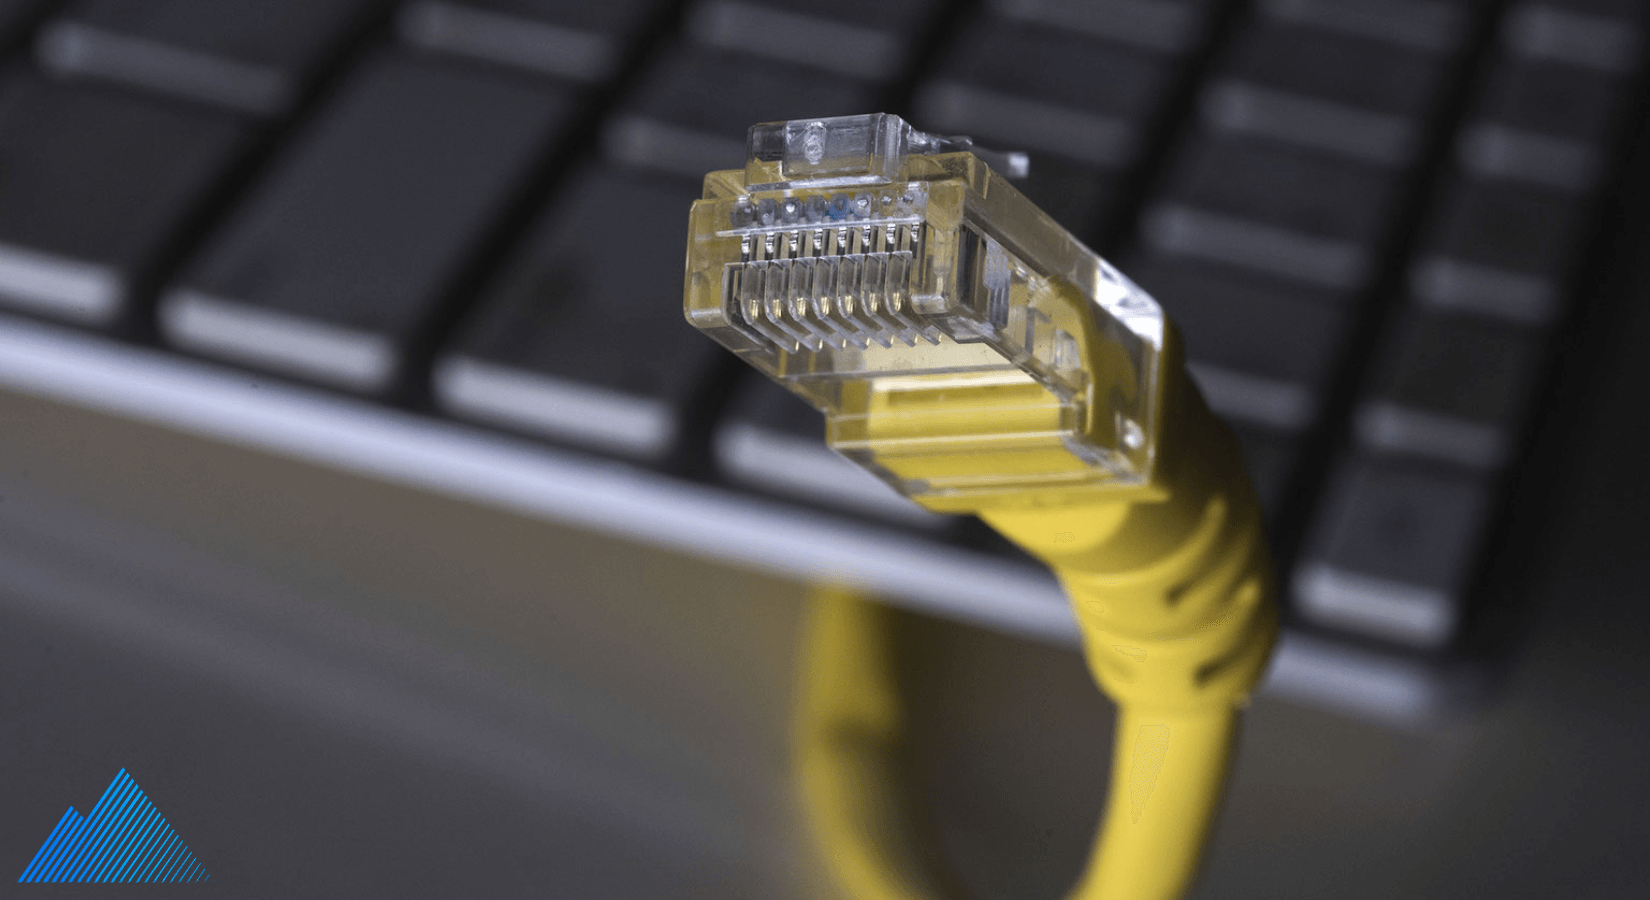
PoE connection on all Montavue cameras
We have made it as simple as possible to hook up your surveillance cameras. All you need to do is plug the one end of the included Cat5e cable that has the weatherproof connector into the camera, and the other end into the NVR, PoE switch, or router. This single Cat5e cable carries both the power and video transmission. There is no need for separate power like the old analog systems. From there, you plug your NVR into power and directly into your router and your cameras should automatically appear within minutes.
Want to run longer lengths?
You can go up to 600ft with 2 cables 300ft long split between a router or PoE switch.
Installers
You may wish to use a local installer. However, we are confident that with our Montavue DIY security system you can have it up and running with just a little work. If you get stuck look through our help guides, videos, or contact our tech support.