
What is the MTB4-ANPR-VF?
The MTB4-ANPR-VF is a high-performance Automatic Number Plate Recognition (ANPR) camera designed for seamless vehicle detection, license plate recognition, and real-time monitoring. Whether you’re securing a parking lot, managing traffic, or automating access control, this camera delivers precision with its deep learning algorithms, H.265 encoding, and robust AI features.
Key Features:
-
License plate, vehicle model, color, and logo recognition.
-
Real-time alerts for blocklisted vehicles or traffic standstills.
-
Dual storage options: SD card and FTP server (supports ANR for offline backup).
-
Integration with LED displays, barriers, and alarms.
-
Easy web-based configuration and remote access.
Step 1: Unboxing and Installation
What’s in the Box?
-
MTB4-ANPR-VF Camera
-
Mounting accessories.
-
Quick start guide.
Installation Tips
-
Positioning:
-
Aim the camera at vehicle entry/exit points.
-
Avoid pointing directly at strong light sources (sunlight, headlights).
-
Ensure the lens is clean and free from obstructions.
Step 2: Initialize the Camera’s IP Address Using the ConfigTool
Download and Use the ConfigTool:
-
Download the Tool:
-
Get the ConfigTool from our official website: [ConfigTool Download Link].
Why use it? This tool automatically detects the camera on your network and simplifies IP configuration. -
Connect the Camera:
-
Use an Ethernet cable to link the camera to your network.
-
Power on the camera.
-
Run the ConfigTool:
-
Open the ConfigTool and click Refresh to scan for devices.
-
The MTB4-ANPR-VF will appear in the list with its default IP (192.168.1.108).
-
Assign a New IP (Optional):
-
Select the camera and click Modify IP.
-
Choose DHCP (for automatic IP assignment) or Static (to manually set an IP).
-
Save changes.
Alternative: Direct Browser Access
-
If you prefer manual setup, open a browser (Chrome/Edge recommended) and enter the default IP: 192.168.1.108.
Step 3: First-Time Initialization
-
Set Region & Language:
-
Select your time zone, language, and video standard (PAL/NTSC).
-
Create a Strong Password:
-
Combine uppercase, lowercase, numbers, and symbols (e.g., SecurePass123!).
-
Add a recovery email for password resets.
-
Sync Time:
-
Use your PC’s time or an NTP server for accurate timestamps.
Step 4: Configure Basic Settings
-
Network Setup:
-
Assign a static IP or use DHCP (recommended for most networks).
-
Configure ports (default TCP: 37777, HTTP: 80).
-
ANPR Configuration:
-
Navigate to ANPR > Snapshot to set capture modes:
-
Capture Mode: Choose Loop, Video, or Mixed.
-
Capture Direction: Select Both Ways for bidirectional traffic.
-
Add license plates to Allowlist/Blocklist under Vehicle Management.
Step 5: Optimize Performance
-
Live View Adjustments:
-
Use the Configuration Wizard (Home Page) to calibrate focus, zoom, and detection areas.
-
Draw shield areas to ignore non-relevant zones (e.g., sidewalks).
-
Light Settings:
-
Adjust IR/white light brightness under Camera > Image > General.
-
Alerts & Alarms:
-
Enable email/SMS notifications for blocklist triggers under Event > Alarm.
Troubleshooting Tips
-
Camera Not Detected by ConfigTool?
-
Ensure the camera and PC are on the same network subnet.
-
Temporarily disable firewalls or antivirus software.
-
Can’t Log In?
-
Reset the password via the recovery email (click Forgot Password? on the login page).
-
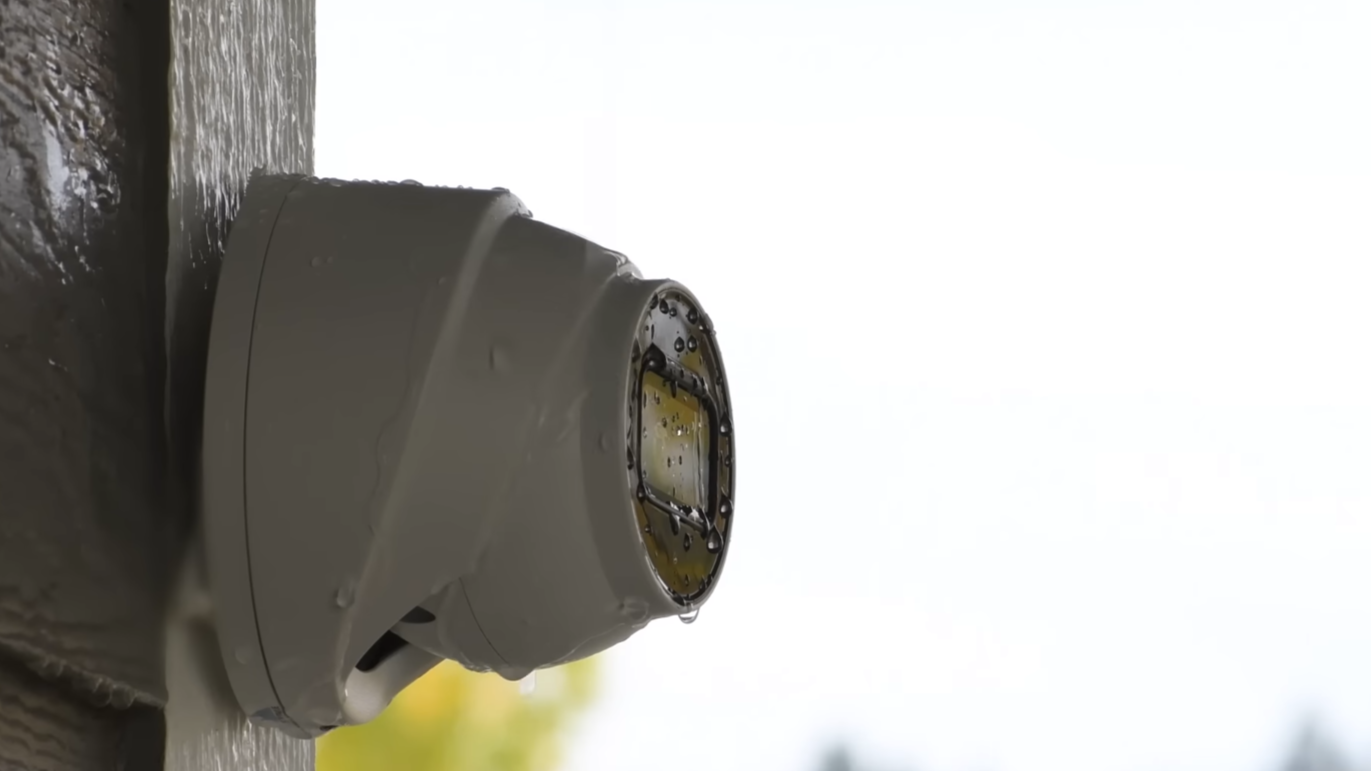
Blurry Images?
-
Clean the lens with an air blower or alcohol-free cloth.
-
Use Auto Focus under Live > Zoom & Focus.
Security Best Practices
-
Enable HTTPS: Navigate to Security > System Service > HTTPS.
-
Use Strong Passwords: Avoid defaults like admin123.
Final Thoughts
The MTB4-ANPR-VF combines simplicity with advanced AI capabilities, making it ideal for both beginners and professionals. Follow this guide to get started, and explore the camera’s full potential with our intuitive web interface. Happy monitoring