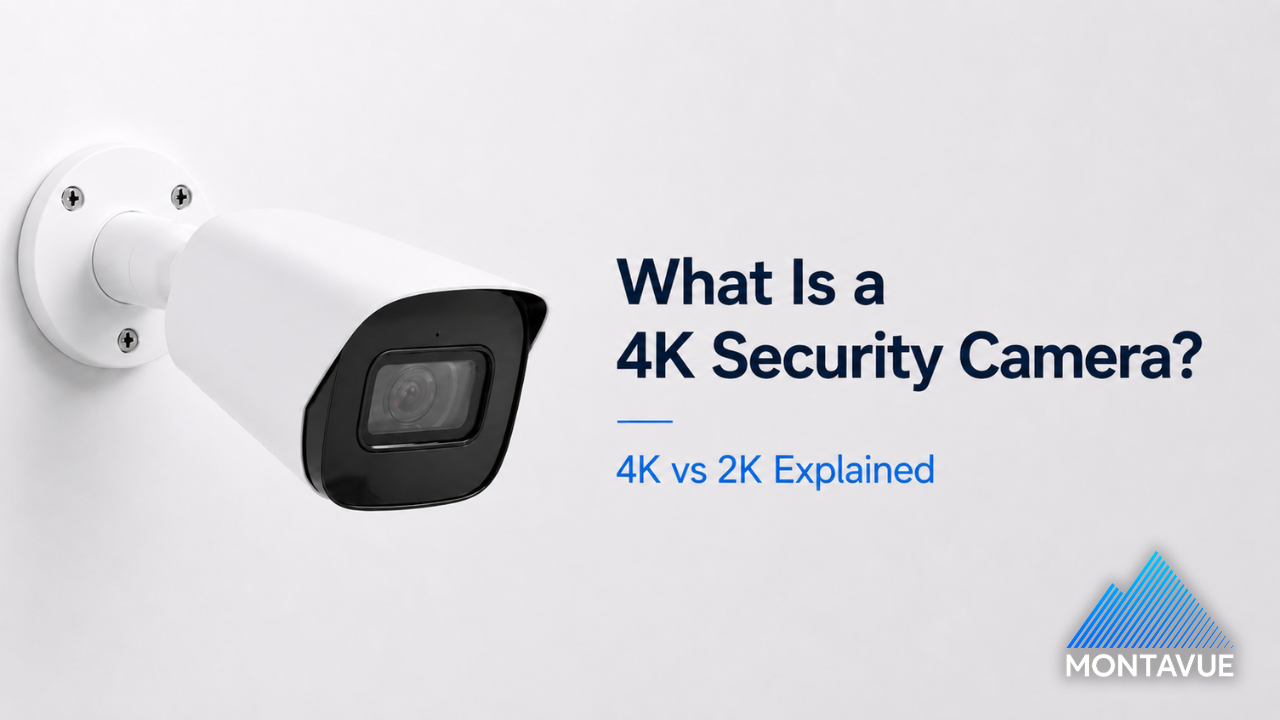

Whether you want to expand your current Montavue security system or upgrade the IP cameras on an existing third-party Network Video Recorder (NVR), flexibility is key. Our current lineup of premium security cameras delivers industry-leading image clarity, advanced smart motion detection, and rugged durability.
Because Montavue cameras are built on a widely adopted, highly compatible underlying architecture, they offer seamless integration into a massive ecosystem of systems. You do not need to replace your entire network to get Montavue quality. Here is how to easily add our top-tier cameras to your existing setup, backed by our continued, dedicated US-based technical support.
Native Integration: Compatible OEM Systems (Amcrest, Lorex, and More)
Many popular security brands on the market share a common underlying architecture (often referred to as Dahua OEM). If your current NVR falls into this category, integrating Montavue cameras goes beyond basic ONVIF compatibility and becomes virtually plug-and-play.
Common OEM brands sharing this architecture include:
-
Amcrest
-
Lorex
-
IC Realtime
-
ENS Security
-
Backstreet Surveillance
-
CCTV Security Pros
-
Honeywell (Performance Series)
(Full OEM list here: https://securitycamcenter.com/dahua-oem-list/)
Because our cameras share these native communication protocols, you often retain access to advanced features like Active Deterrence, two-way audio, and AI detection/analytics when pairing them with these specific NVRs. Ensure the NVR you plan on connecting the camera to is up to date on the latest or on the most current firmware, otherwise the camera may not work!
Option 1: Plug-and-Play (Direct PoE Connection)
If your compatible NVR features built-in Power over Ethernet (PoE) ports on the back:
-
Connect the Cable: Plug a Cat5e or Cat6 ethernet cable directly from the Montavue camera into an open PoE port on the NVR.
-
Wait for Initialization: The NVR will automatically assign an IP address and display the video feed within a few minutes. No software configuration is required!
Option 2: Adding over a Local Area Network (LAN)
If your cameras are connected to an external PoE switch on the same network as your NVR:
-
Navigate to the Camera or Device Search menu on your NVR interface.
-
Click Device Search to scan your local network for active IP cameras.
-
Select the Montavue camera from the populated list.
-
Ensure the manufacturer protocol is set to Private or Dahua to guarantee full feature compatibility, and enter the camera's password to authenticate the video feed.
Universal Integration: Connecting to Different Manufacturers via ONVIF
What if your NVR is from a completely different manufacturer? You don't have to worry about being locked out. Montavue cameras are fully equipped to bridge the gap using universal IP camera standards, meaning they can communicate with almost any modern security system on the market.
Connecting via ONVIF (Synology, Blue Iris, Standard NVRs)
ONVIF is the global communication standard for IP cameras. Platforms like Synology Surveillance Station, Blue Iris, and standard NVRs from competing manufacturers rely heavily on this protocol for video streaming and PTZ (Pan-Tilt-Zoom) control.
-
Enable ONVIF: Log into the camera's web interface via its IP address. Navigate to Setting > Network > Port, and ensure ONVIF is enabled. Usually ONVIF is Enabled by default.
-
Create an ONVIF User: Under Setting > System > Account, click the ONVIF User tab and create a dedicated username and password for the integration. Most of the time the default admin profile will work fine.
-
Add to VMS: Open your third-party software, select Add Camera, and choose ONVIF as the brand/protocol. Input the camera's local IP address and the ONVIF credentials you just created.
Connecting via RTSP Stream (Home Assistant, Custom Dashboards)
For smart home platforms like Home Assistant or custom software that strictly requires a raw video feed rather than a standard NVR protocol, you can utilize the Real-Time Streaming Protocol (RTSP).
Input the following URL format into your software's stream configuration field: rtsp://[username]:[password]@[IP_Address]:554/cam/realmonitor?channel=1&subtype=0
-
Pro Tip: Leaving
subtype=0pulls the high-quality Main Stream, while changing it tosubtype=1pulls the lower-resolution Sub Stream, which is ideal for saving bandwidth on multi-camera dashboards.
Montavue's Quality US Based Support
Expanding a security network can sometimes present unique networking hurdles, like subnets, IP conflicts, or firewall restrictions. No matter what system you are integrating our cameras into, you are never on your own.
Montavue cameras are engineered for longevity and high performance, and our US-based technical support team is always here to ensure your system runs flawlessly.
Unsure if your current system is compatible, or need help configuring an ONVIF or RTSP stream? Reach out to our support team today at 888-508-3110 or support@montavue.com.